The original deck was western red cedar tongue & groove laid to teak covering boards and teak king-planks. From build Fortuna II was sheathed in what (from a few remaining fragments) looked like dynel. At some point the deck had been stripped off and re-sheathed with glass and epoxy. This was run across the king planks and out over part of the covering boards before the whole was painted battleship grey. The teak toe-rail (forward) and bulwark capping (aft) were painted a deceptively varnish like brown.
Although the cedar deck was in reasonable condition it had been fastened with galvanised nails which were now starting to rust and raising hundreds of blisters under the sheathing. It was only a matter of time before they started popping. With no appetite for extracting and replacing the several thousand galvanised steel nails it was decided to replace the deck (and wheelhouse roof – which was constructed in the same way).
Off comes the old deck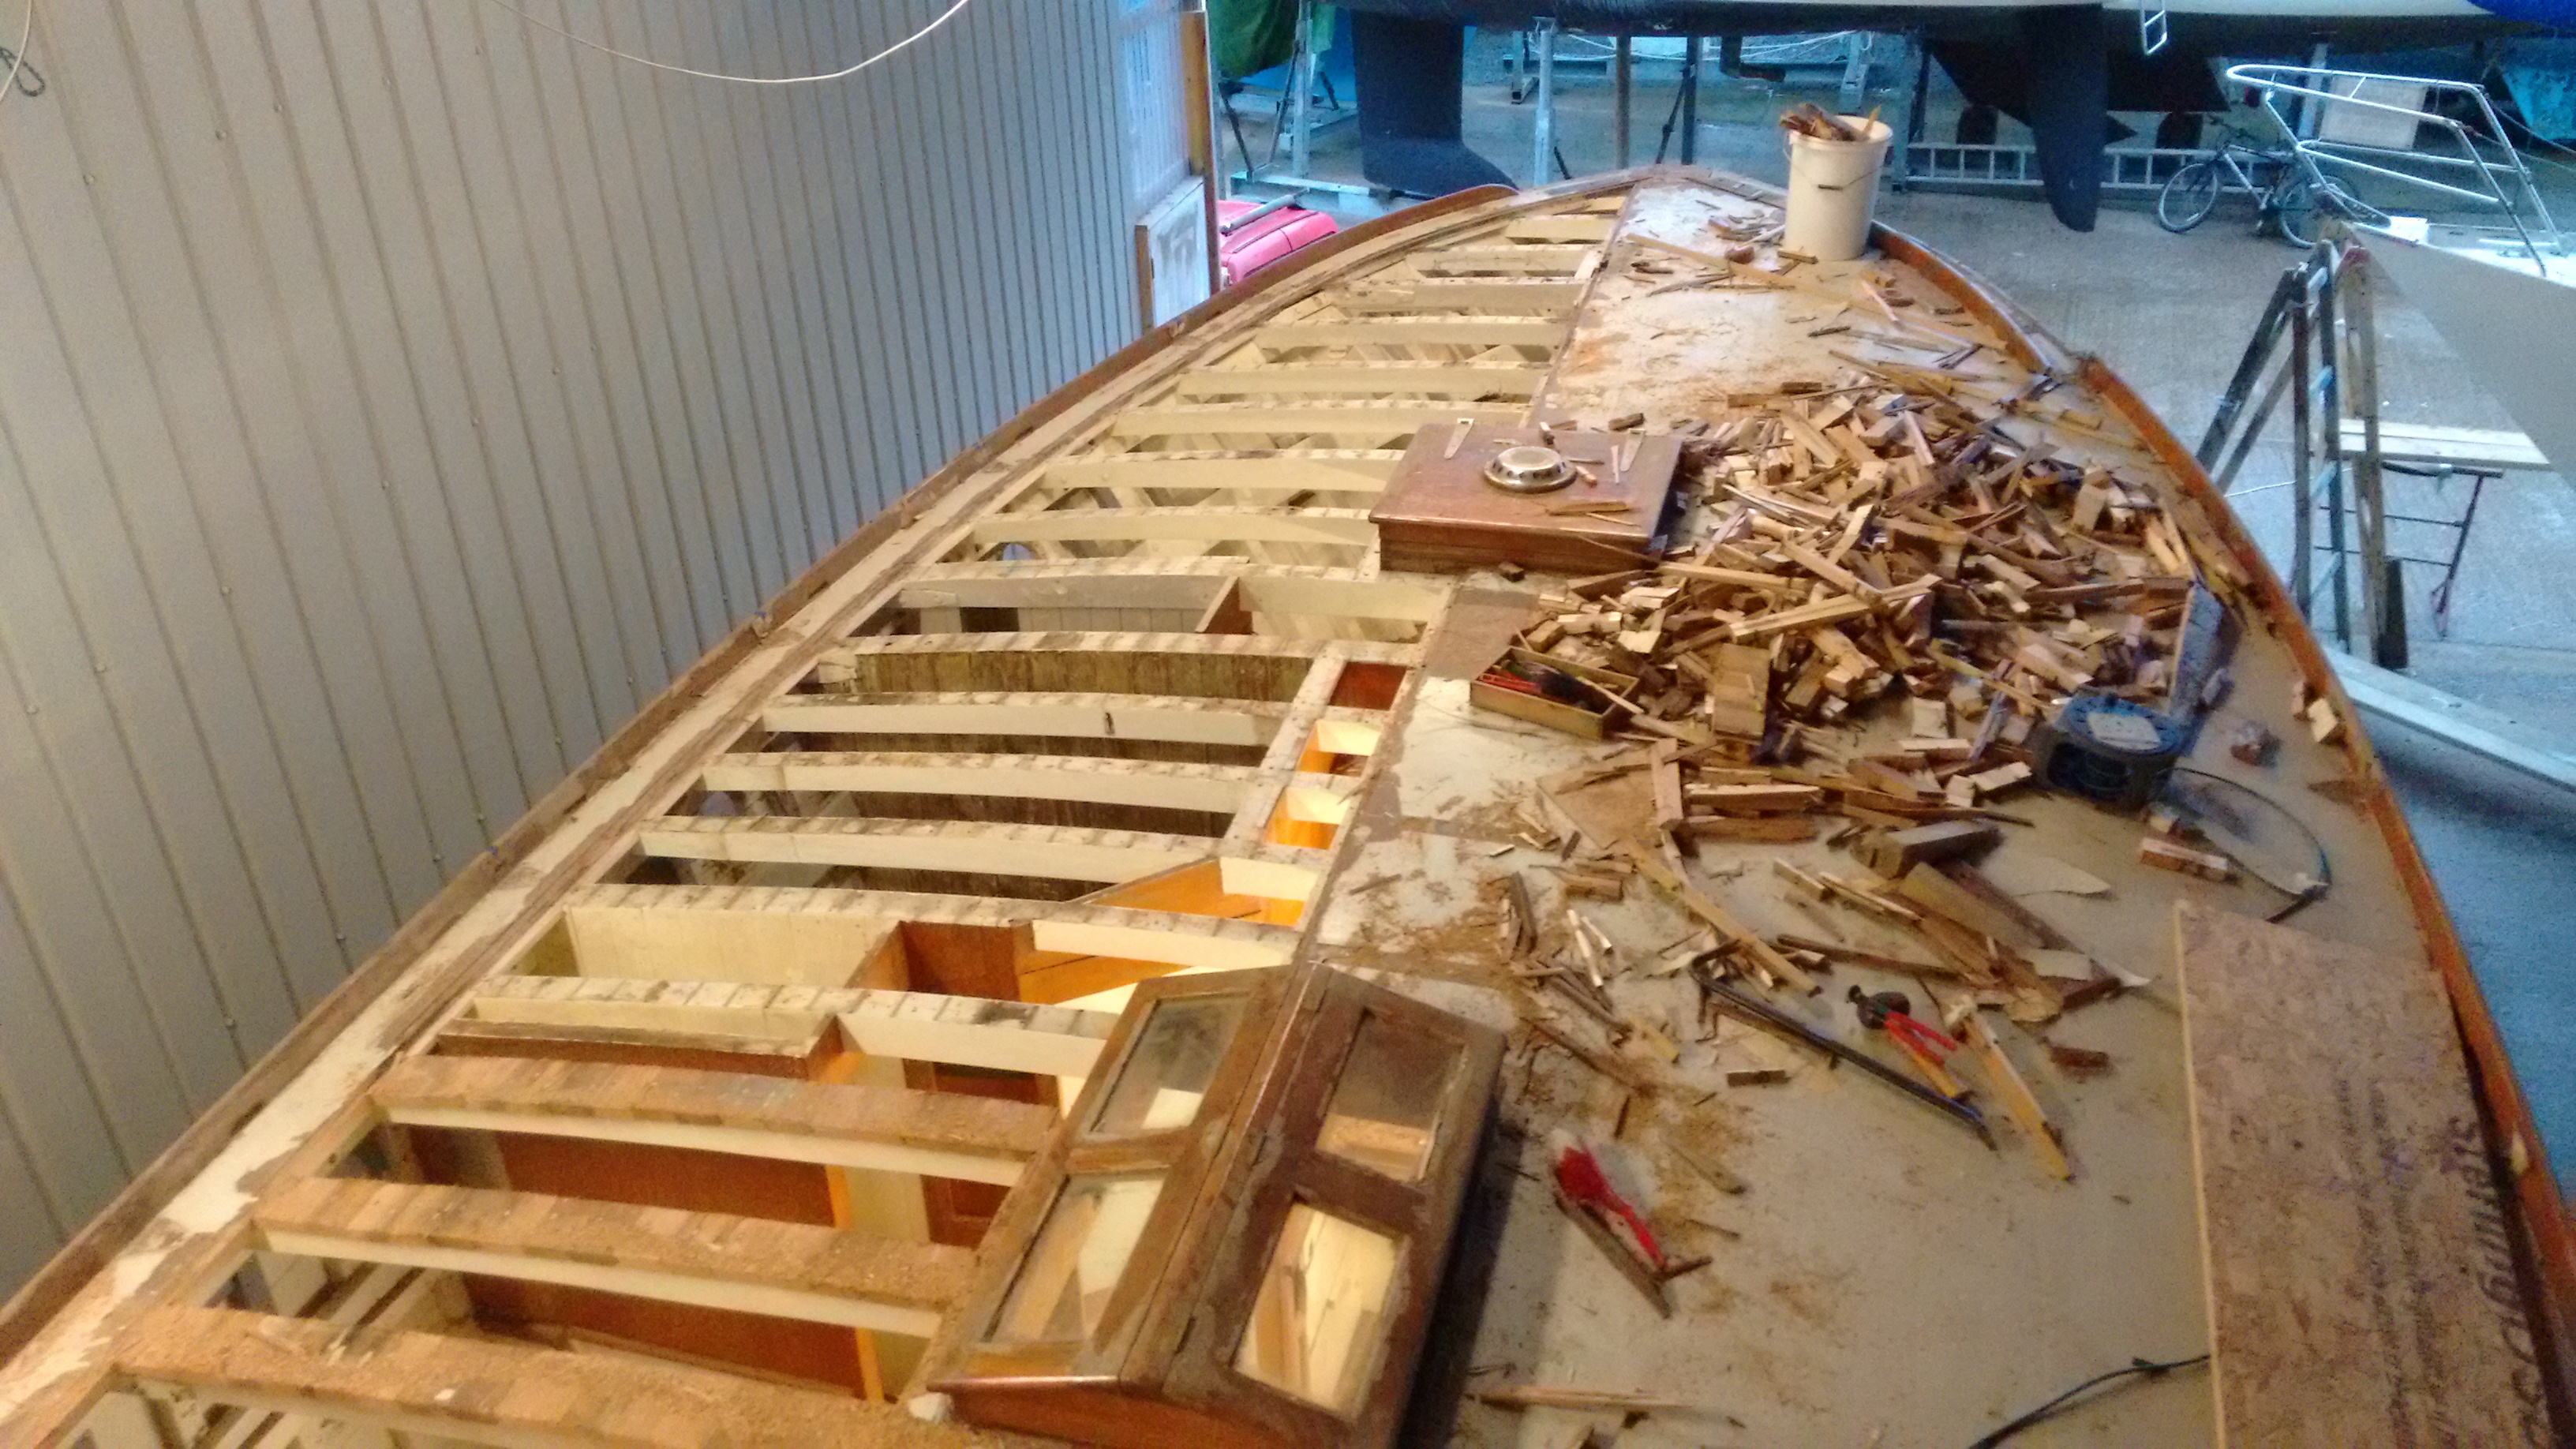
The removal of the deck exposed, inevitably, a number of structural issues that needed to be addressed. Repairs to the forward deck were relatively minor with a few deck beams needing repairs and a new section of covering board at the bow. The wheelhouse and aft deck areas needed much more attention and the cockpit sole structure needed a complete rebuild before the salvaged teak cockpit sole was re-instated.
Repairs to aft deck beams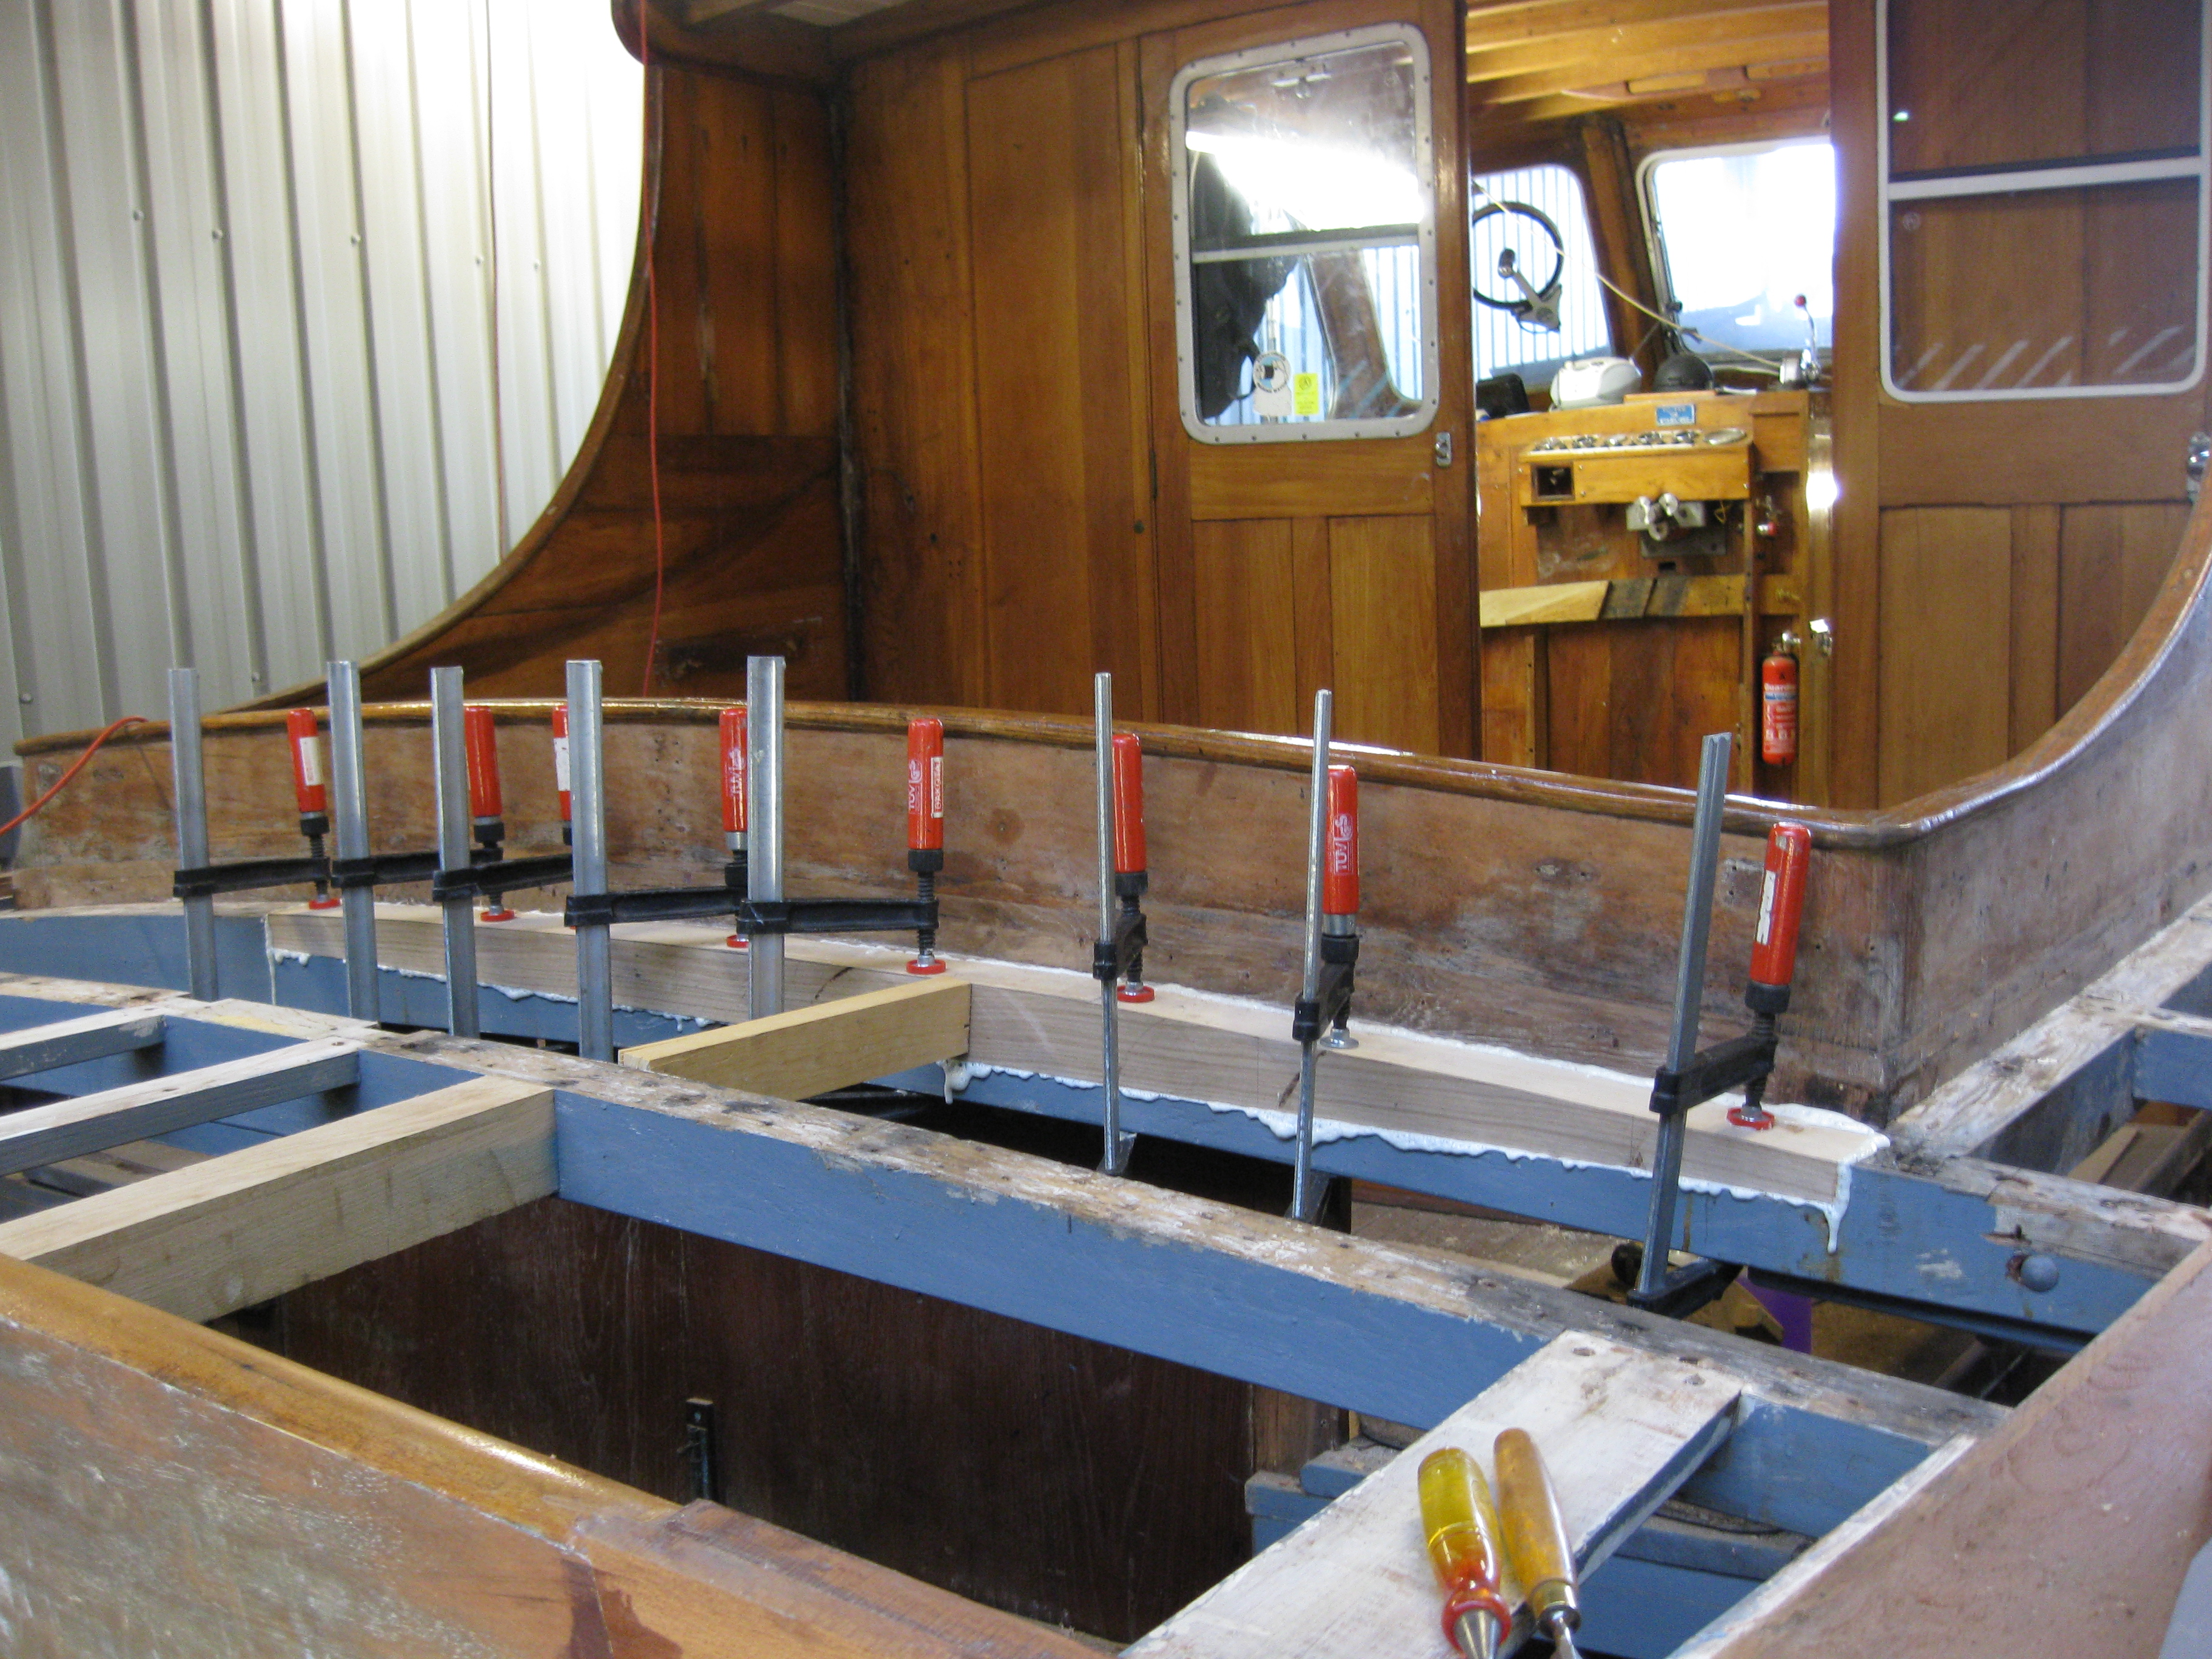
The new deck was western red cedar T&G overlaid with marine plywood and then sheathed with glass epoxy.
The new cedar deck is fitted to margins all round.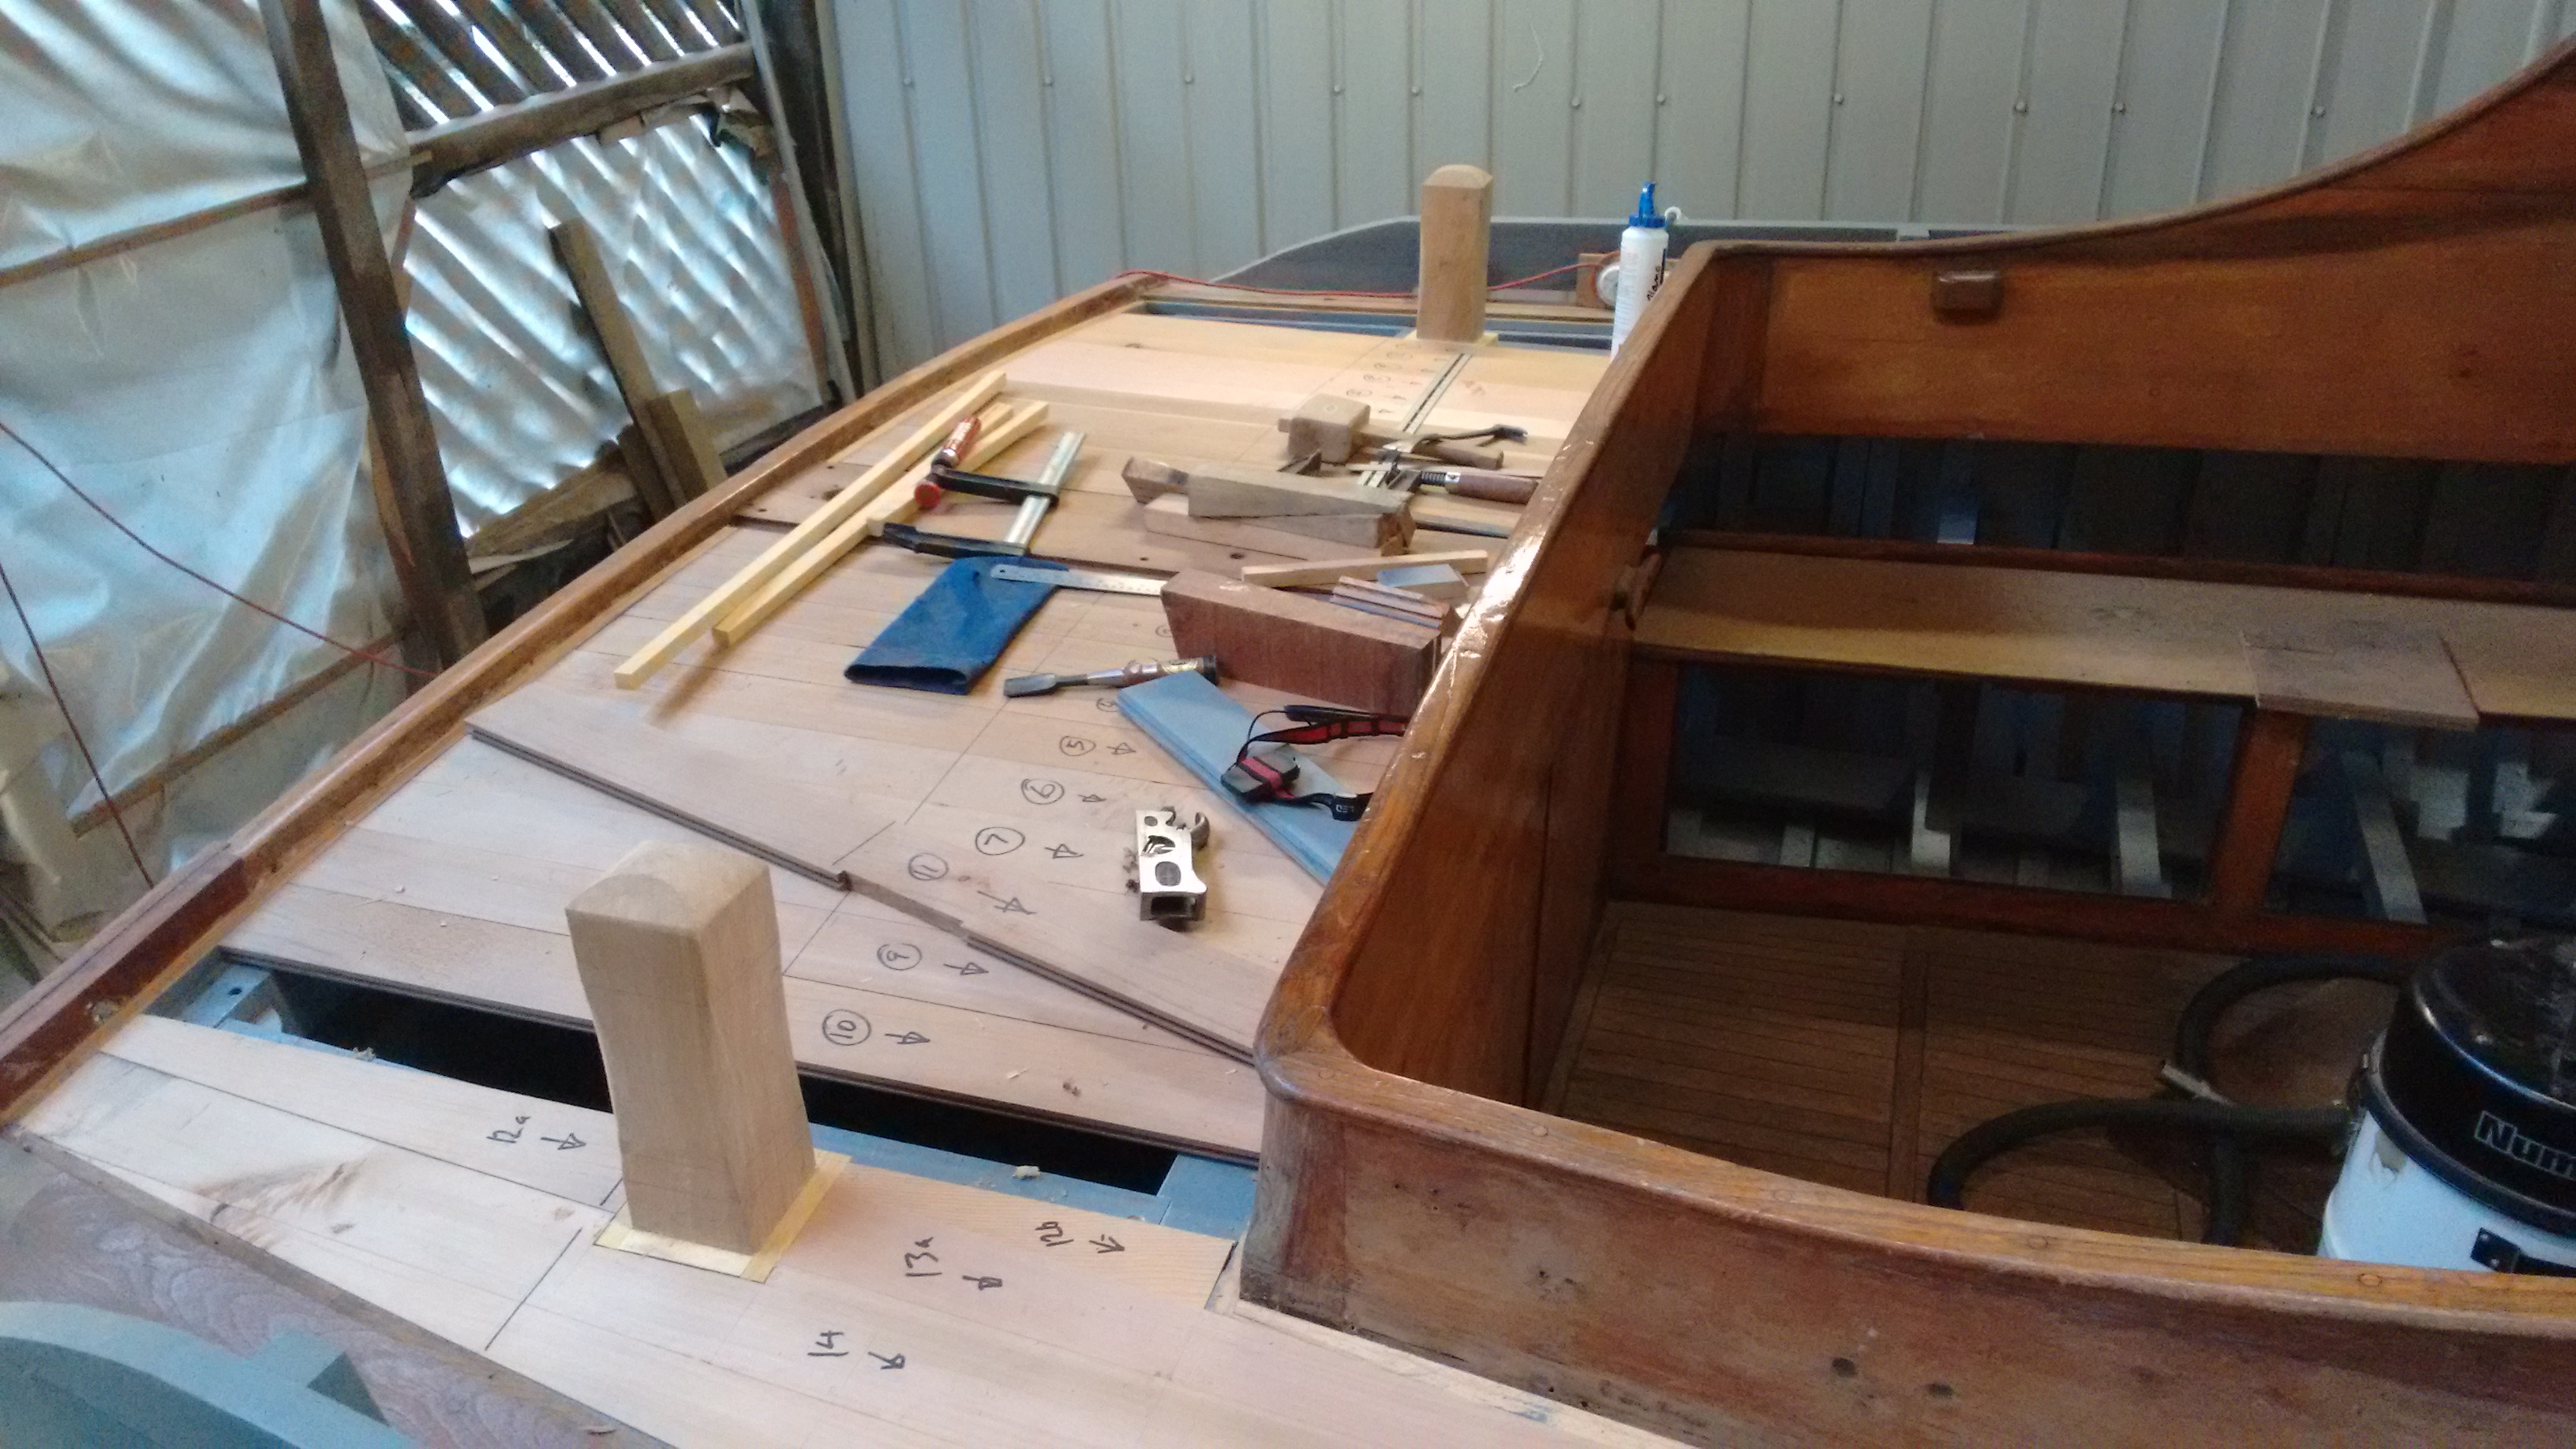
The margins provide a landing for the plywood overdeck which is epoxied in place. Note the new mooring posts (the old ones had rotted at deck level).
With the cedar deck laid and the plywood overdeck bonded down it was time to sheath. Richard Pierce did a road trip and came down to Devon to help ensure that I didn’t make a mess of it.
It was hot and sunny outside as we sheathed the wheelhouse deck from crawl-boards 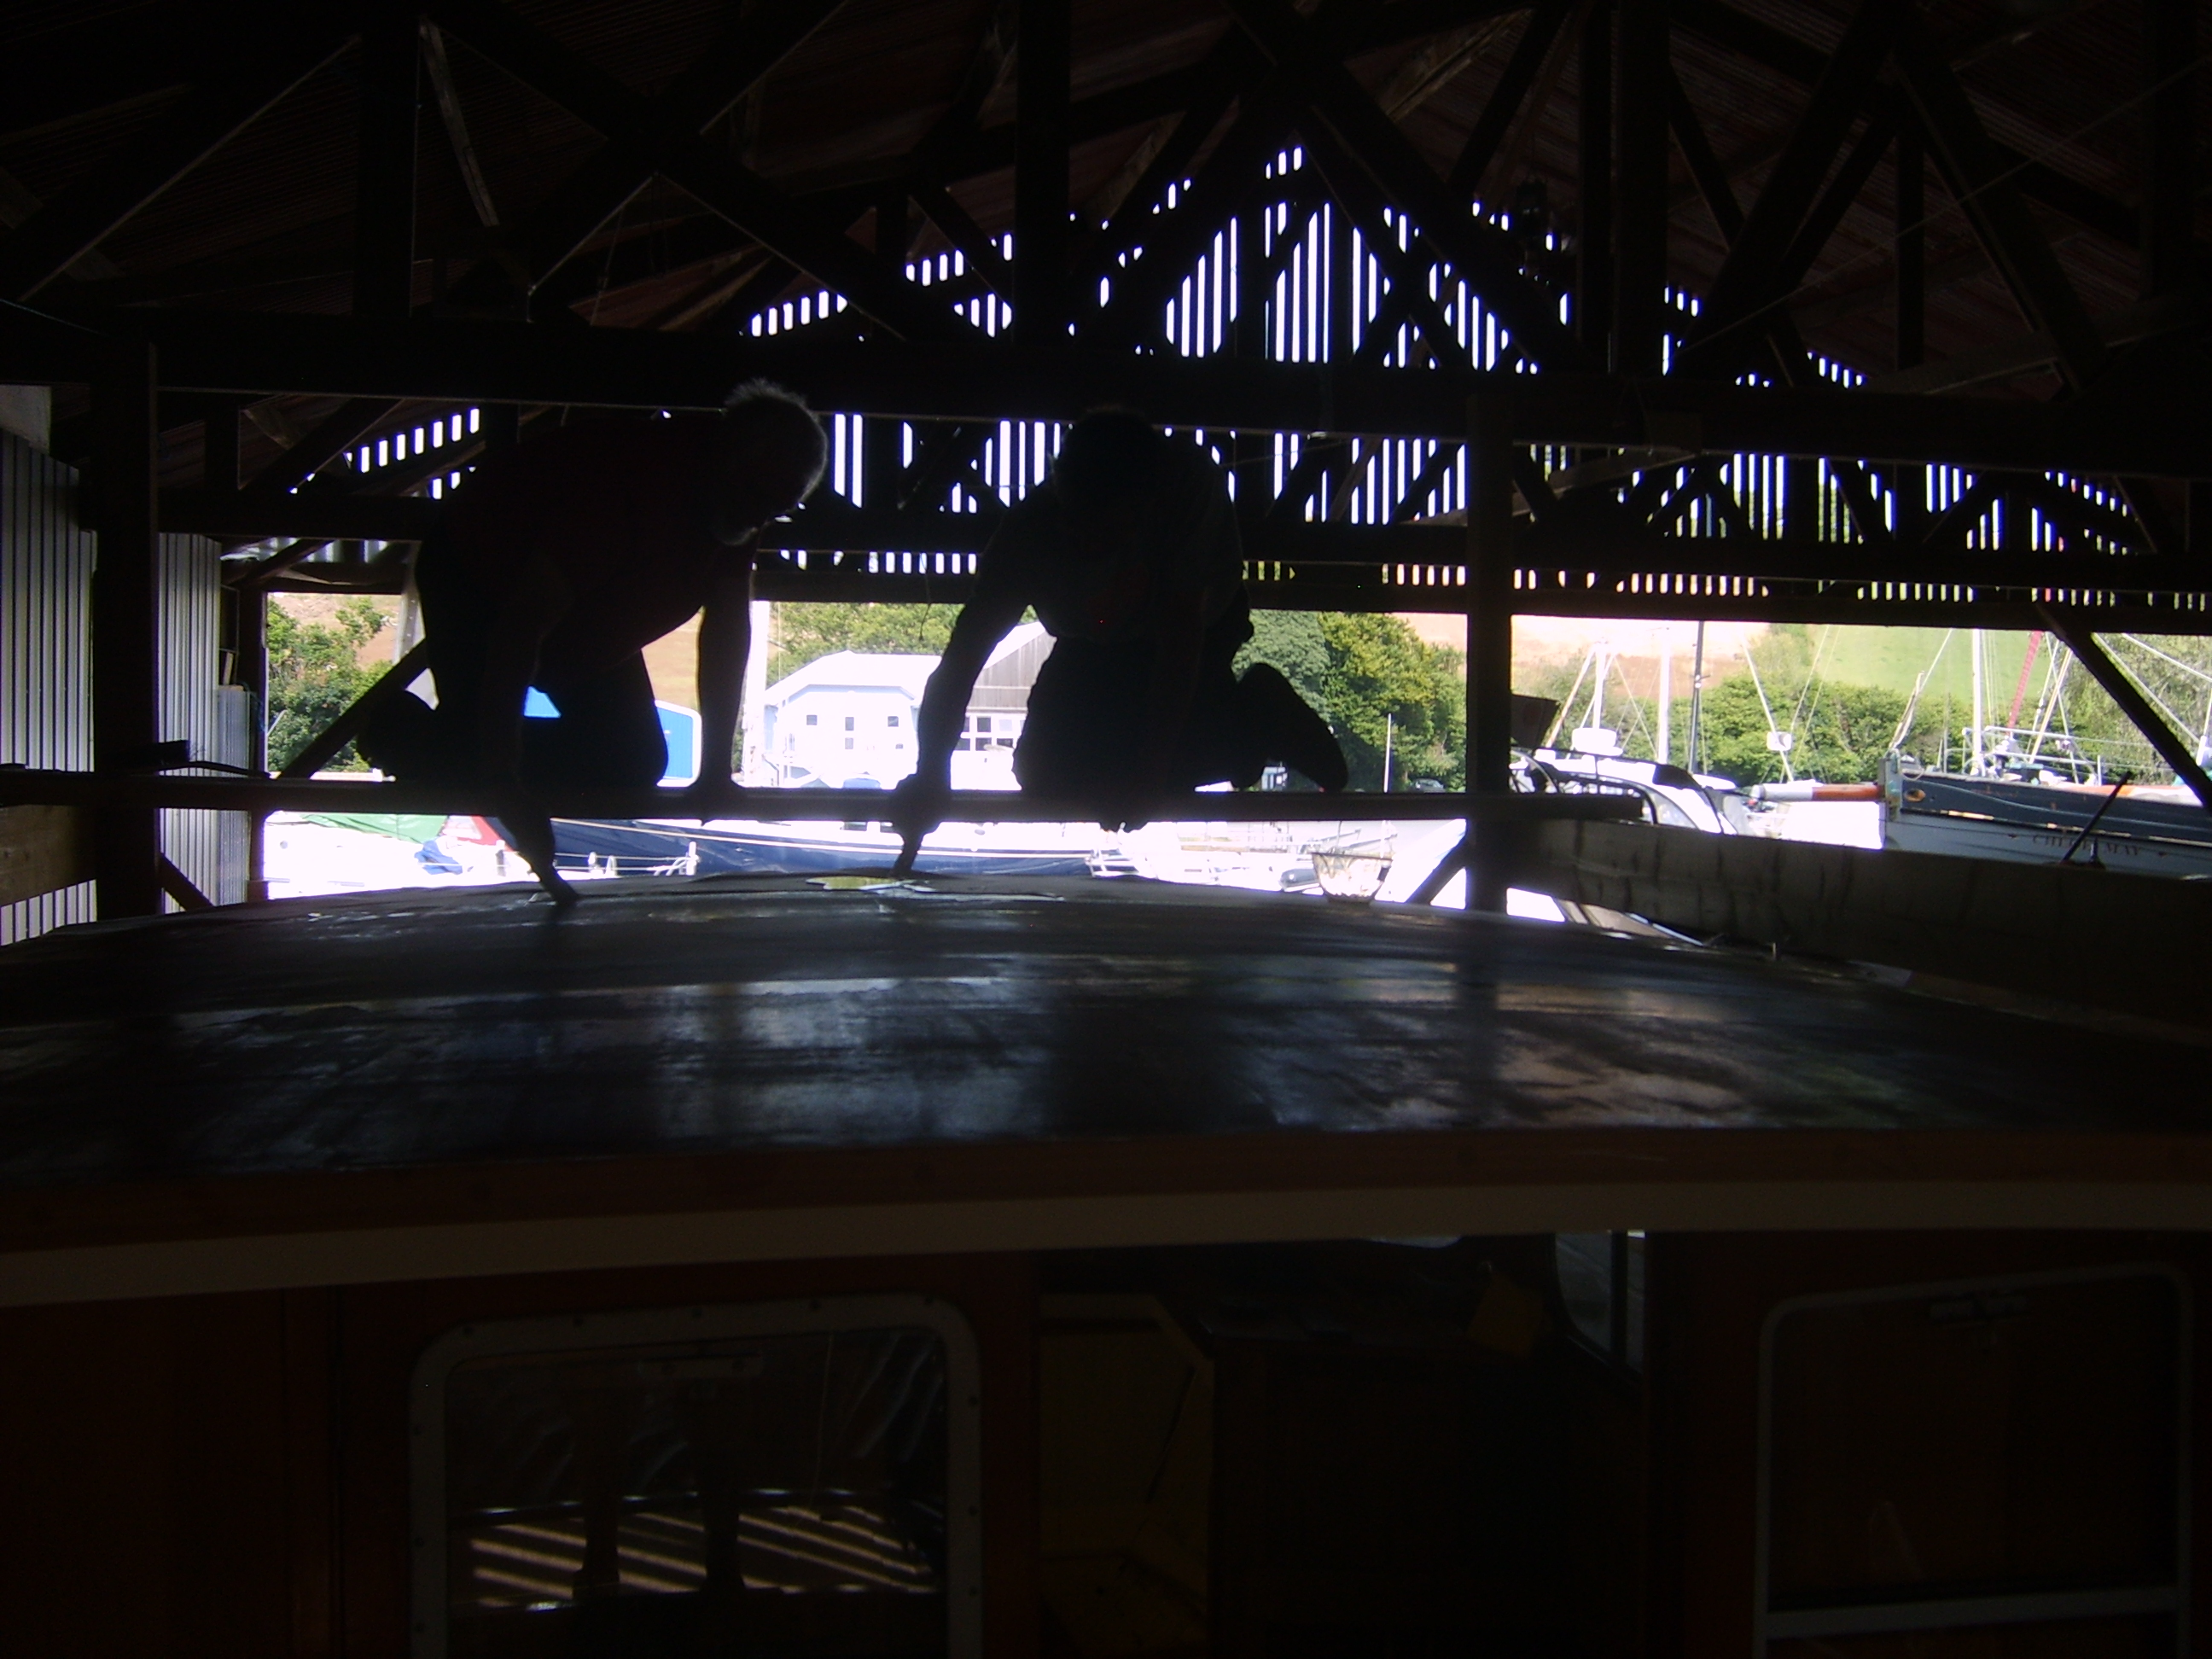
The aesthetic objective when sheathing the deck was to keep the weave showing, even after it is painted, and have a deck that looks – more or less – like canvas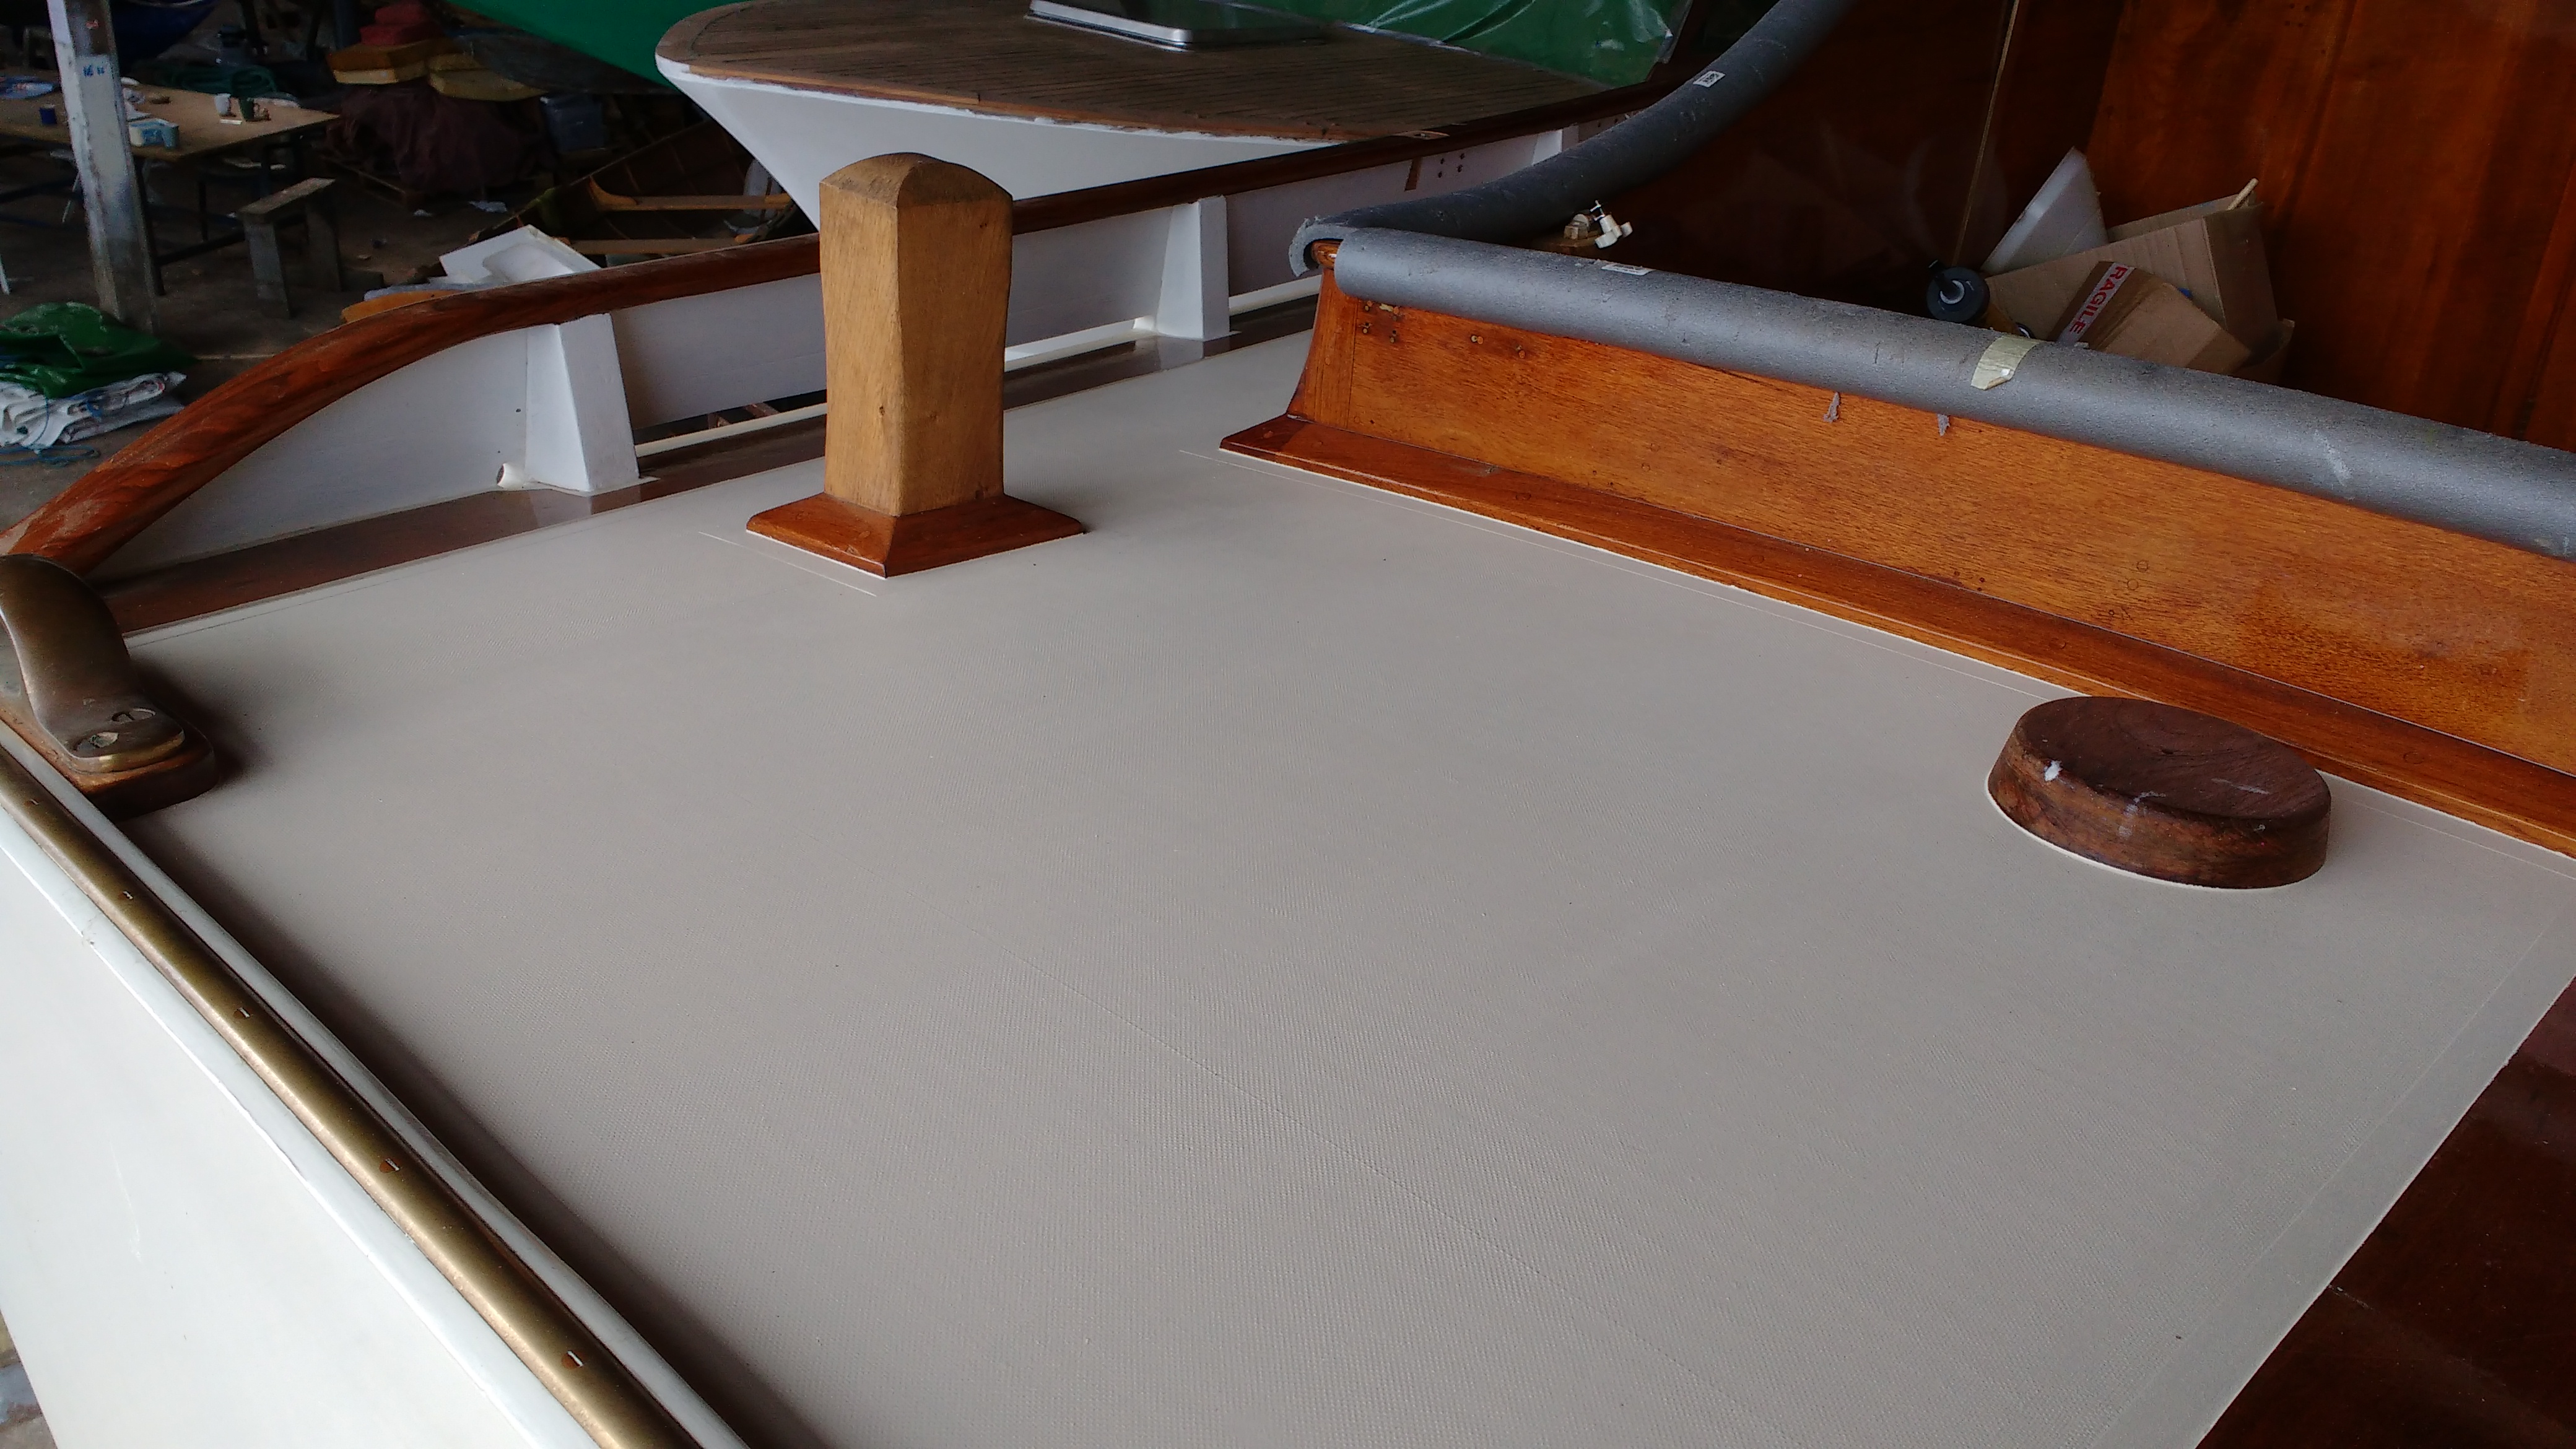
Zoomed detail of above showing weave in deck sheathing (I hope)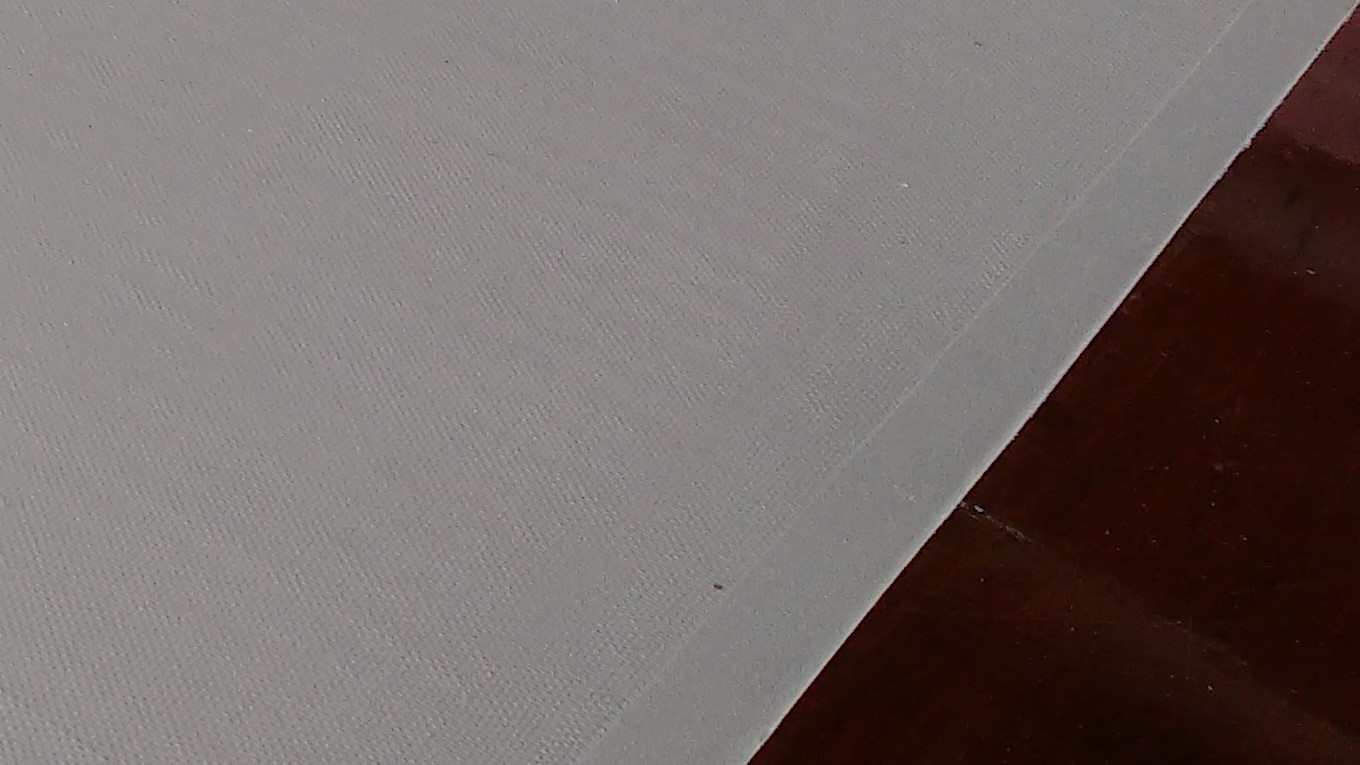
While fitting cockpit drains Mike discovered that the cockpit sole beams were rotting from the inside out. Replacing all the beams without taking out the seats was quite a challenge.
Cockpit sole structure under re-construction
Re-laid cockpit sole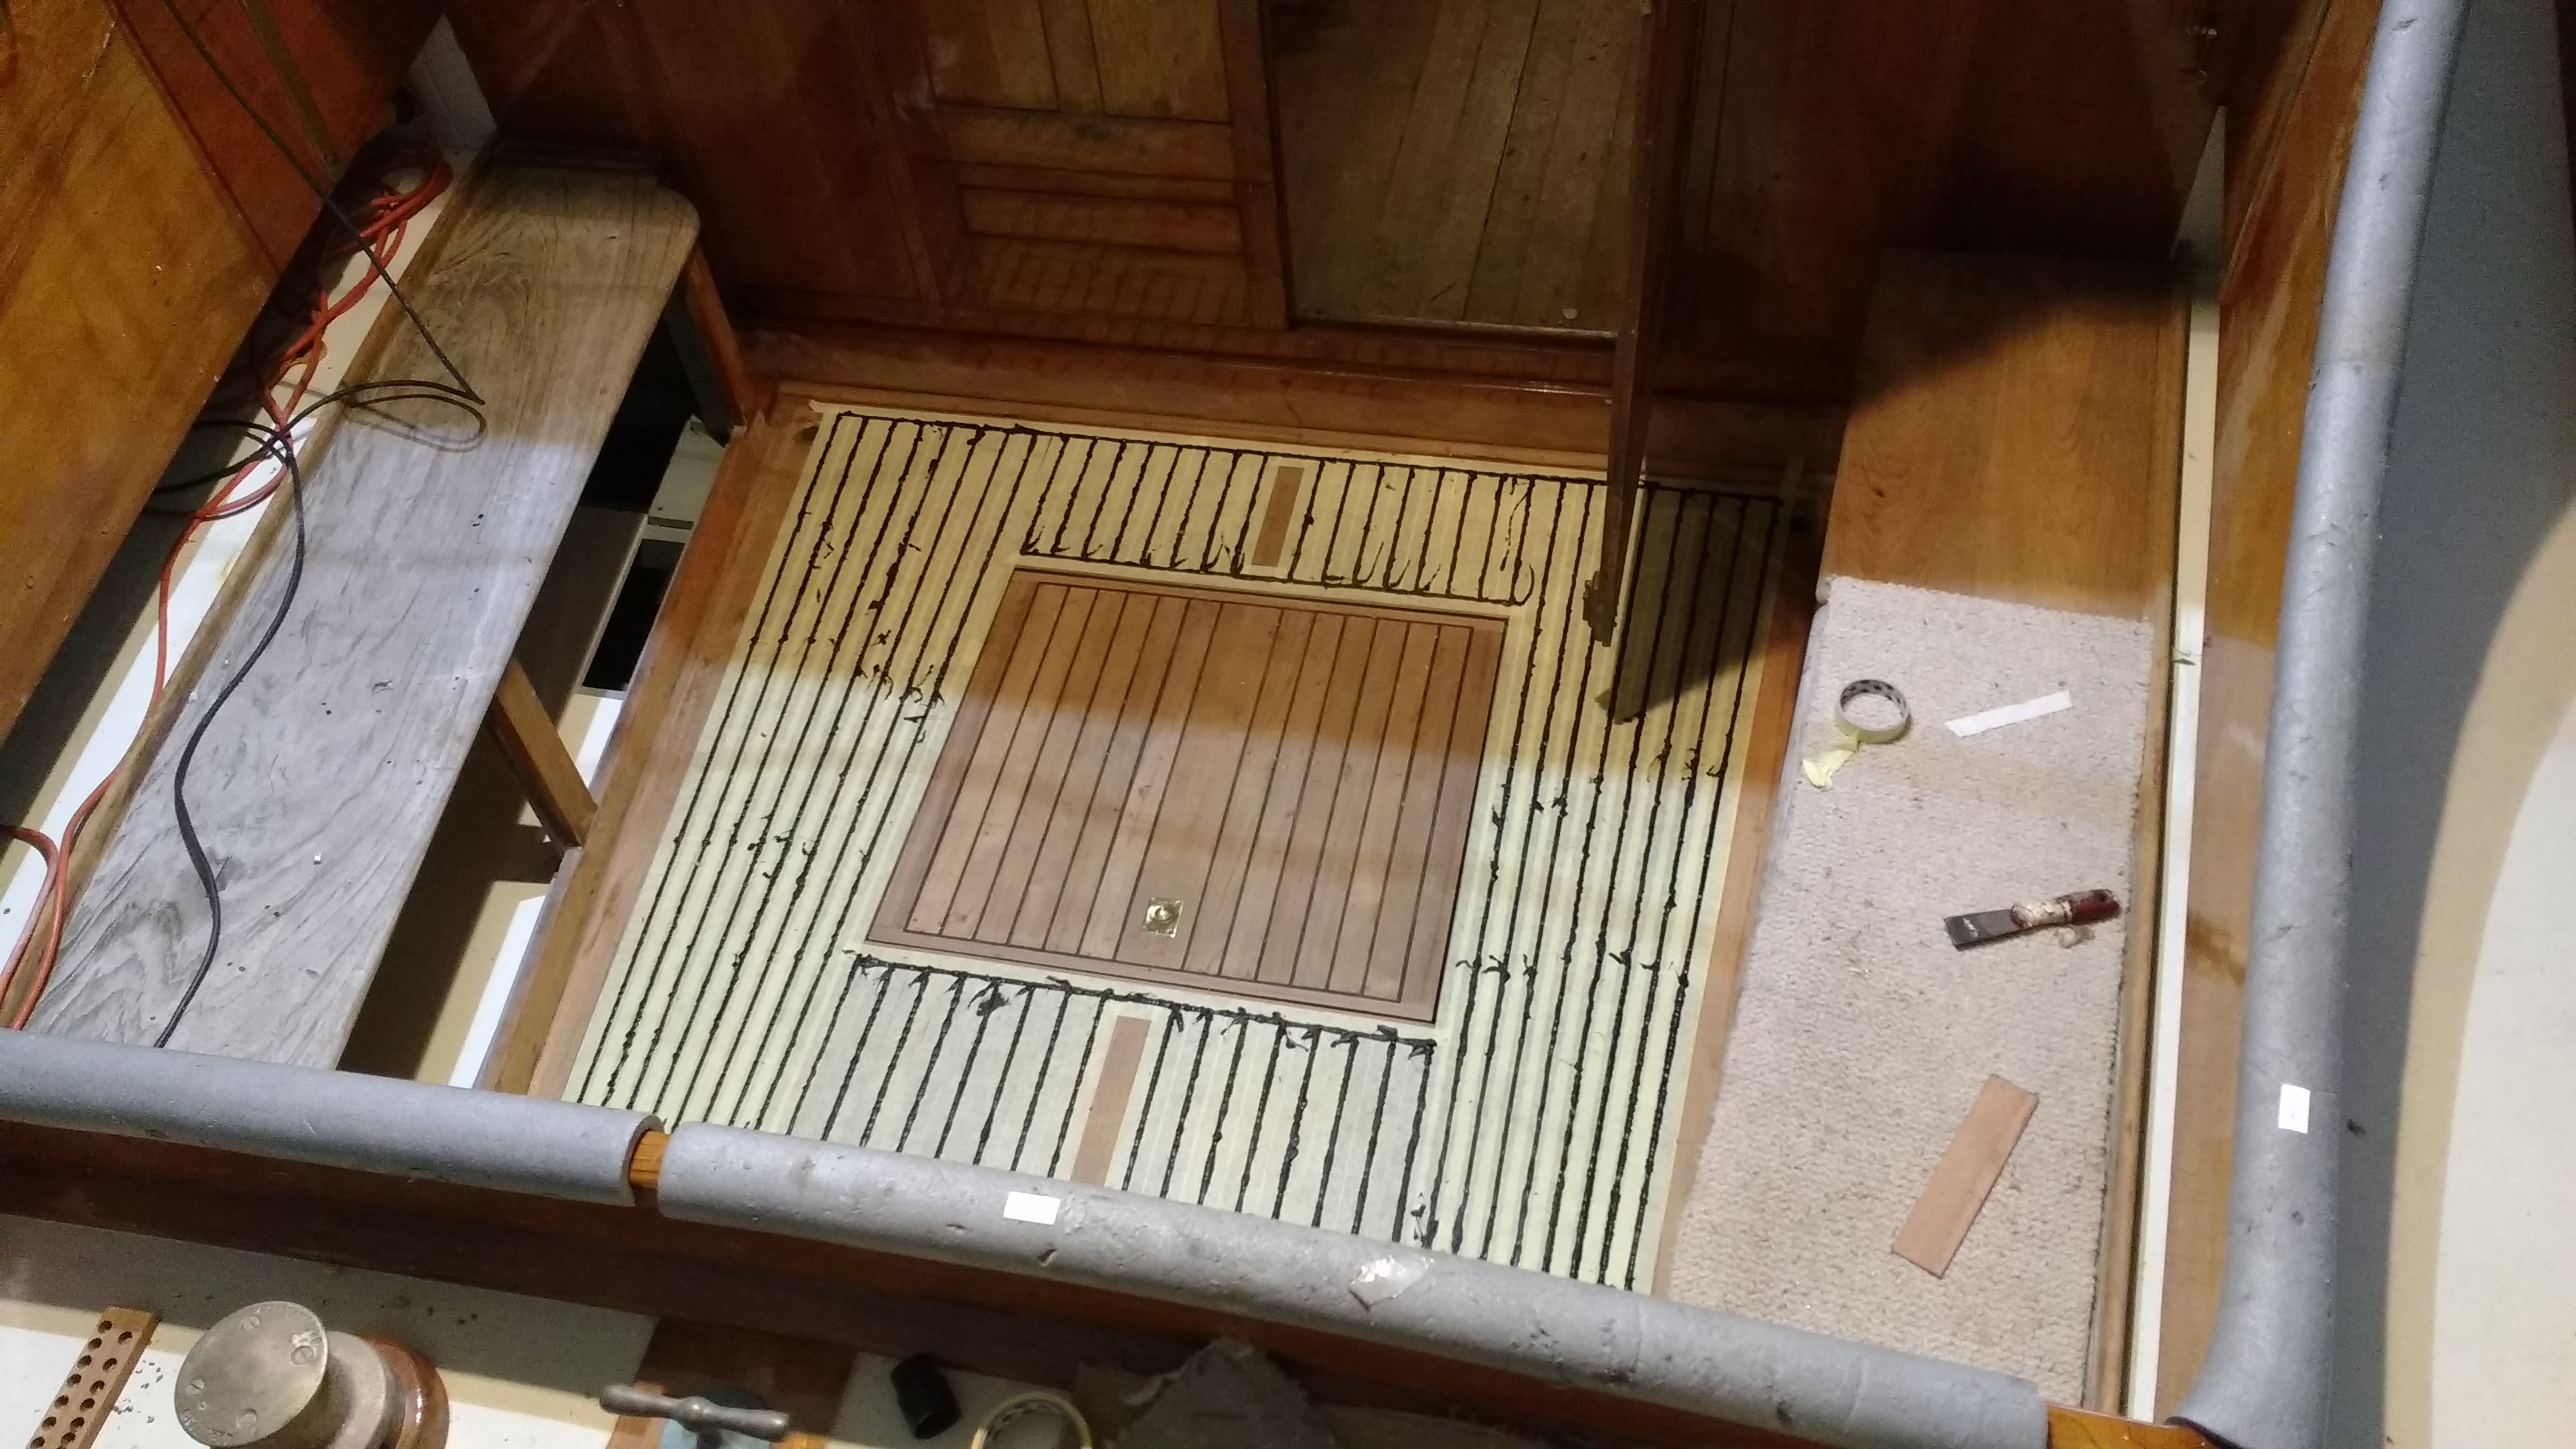
Repairs to the wheelhouse coamings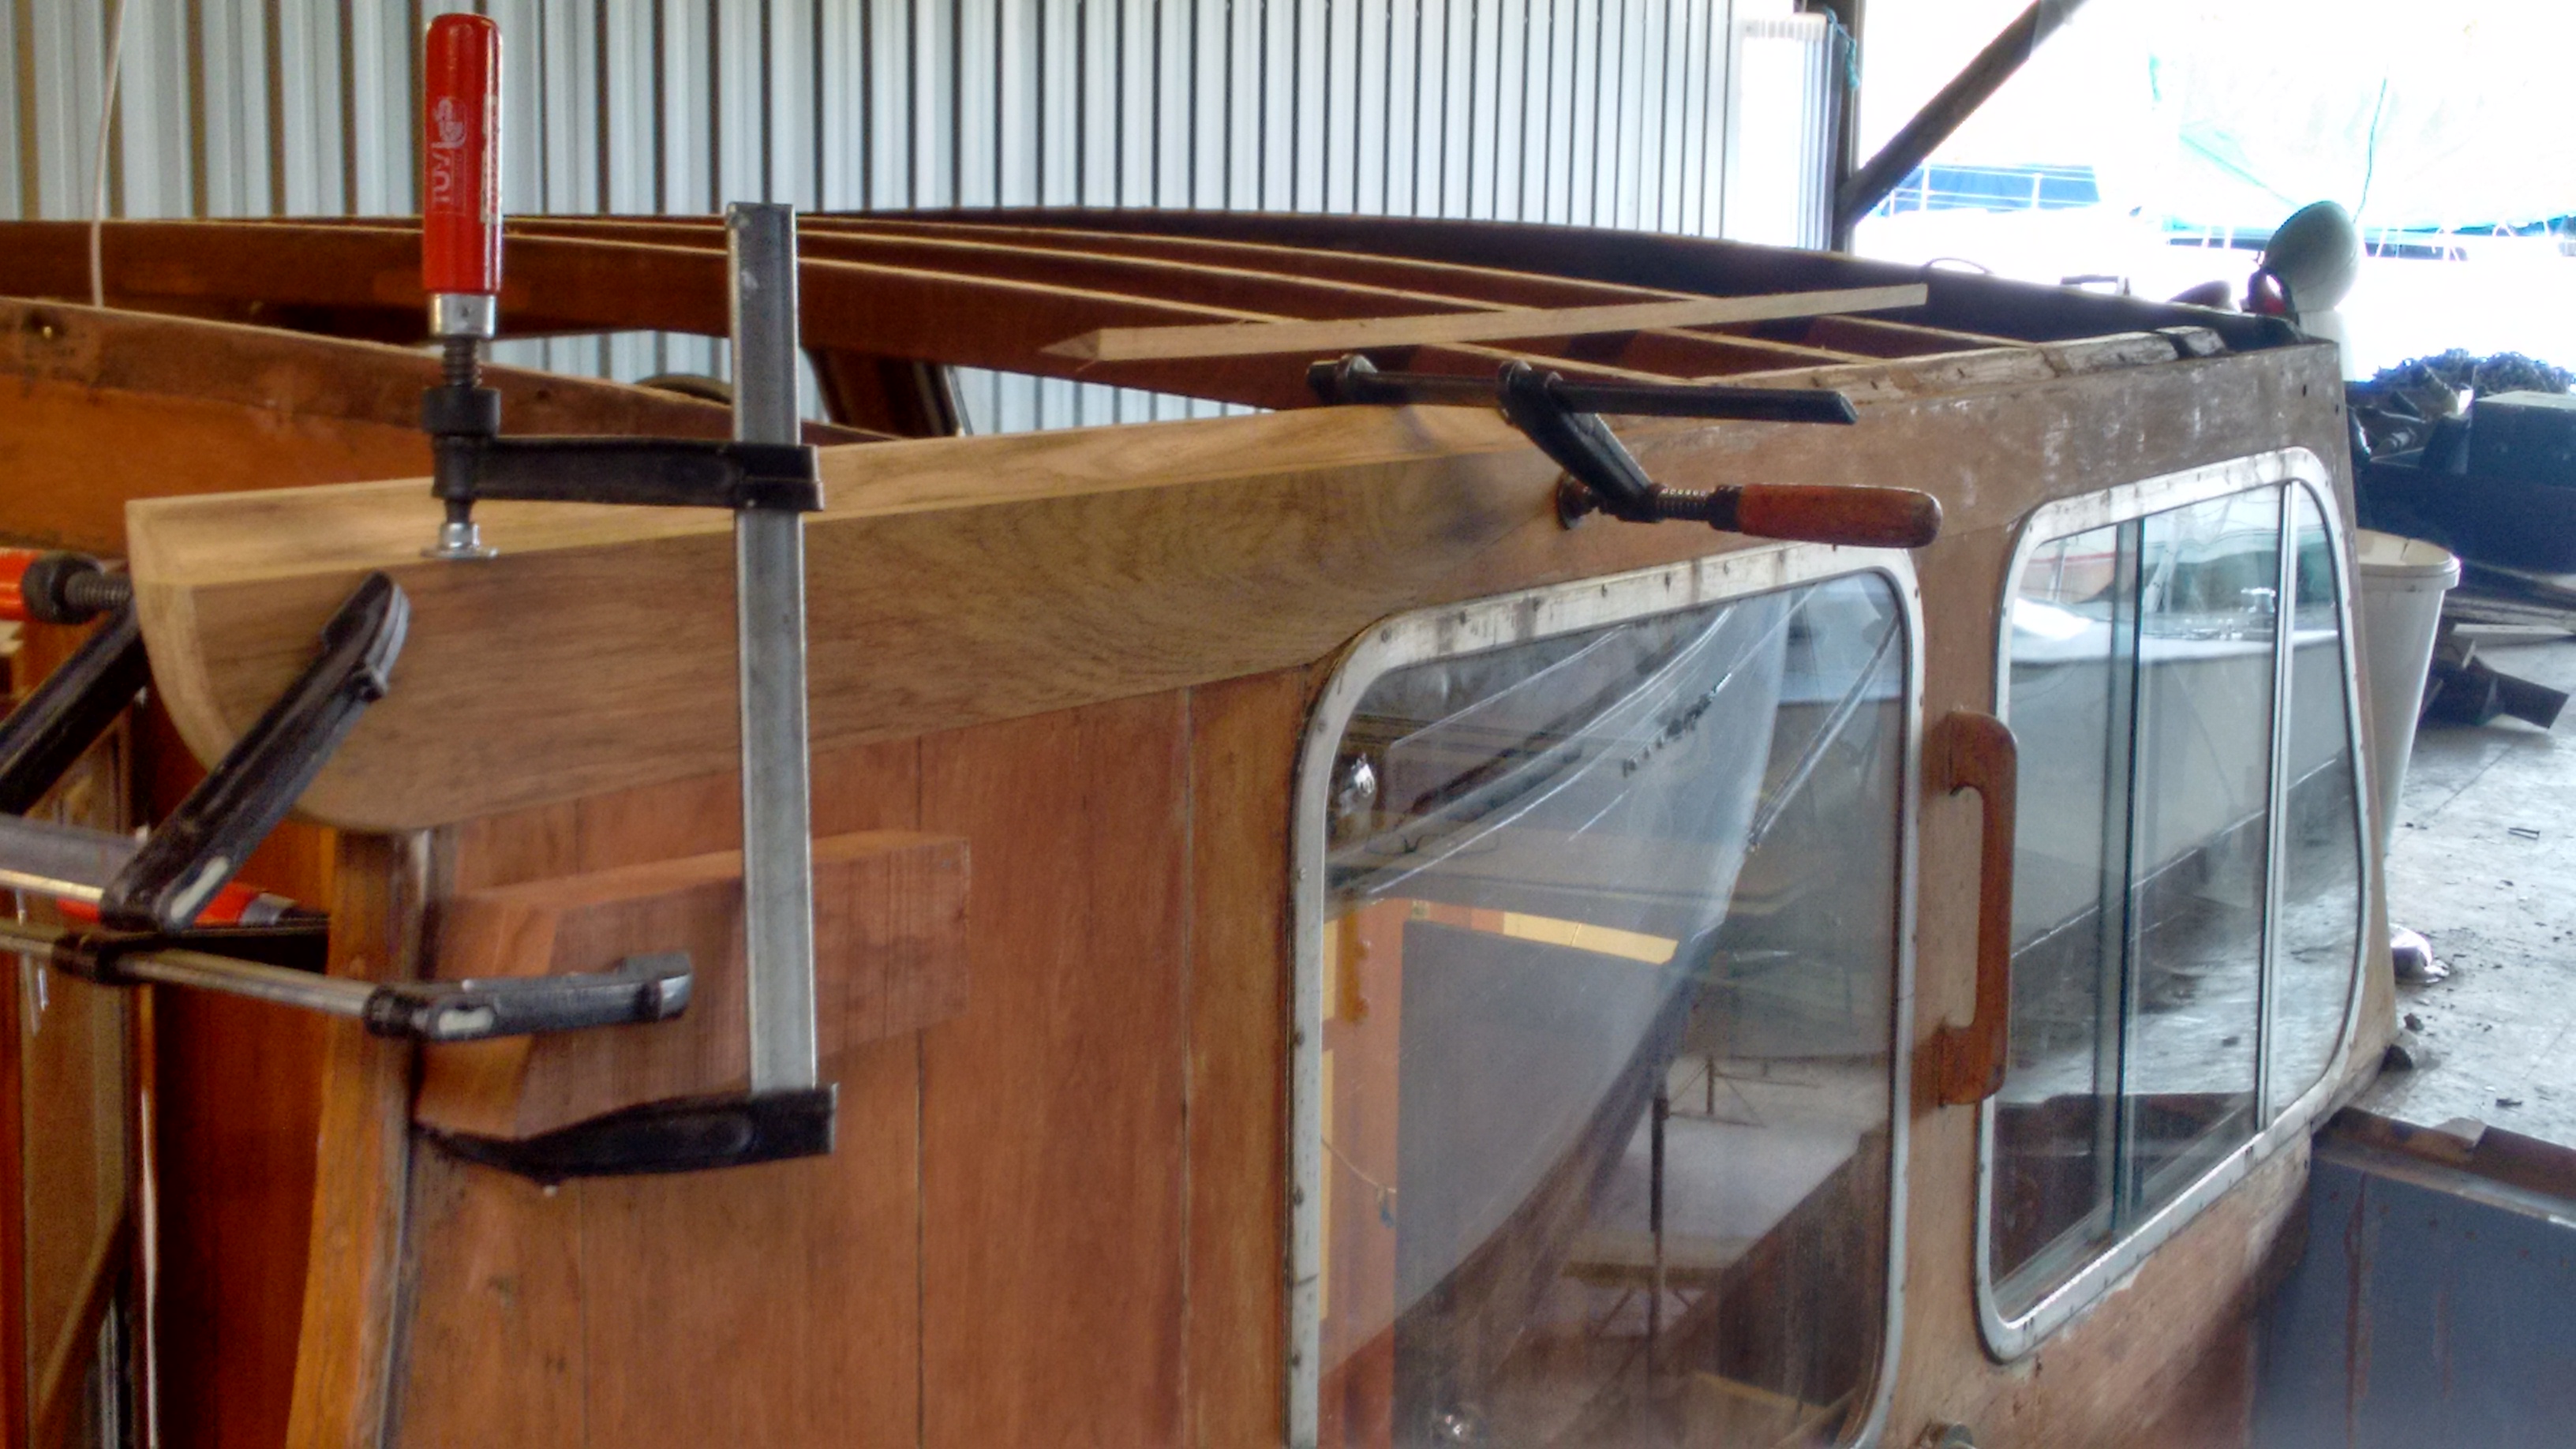
Underside of new deck on the wheelhouse.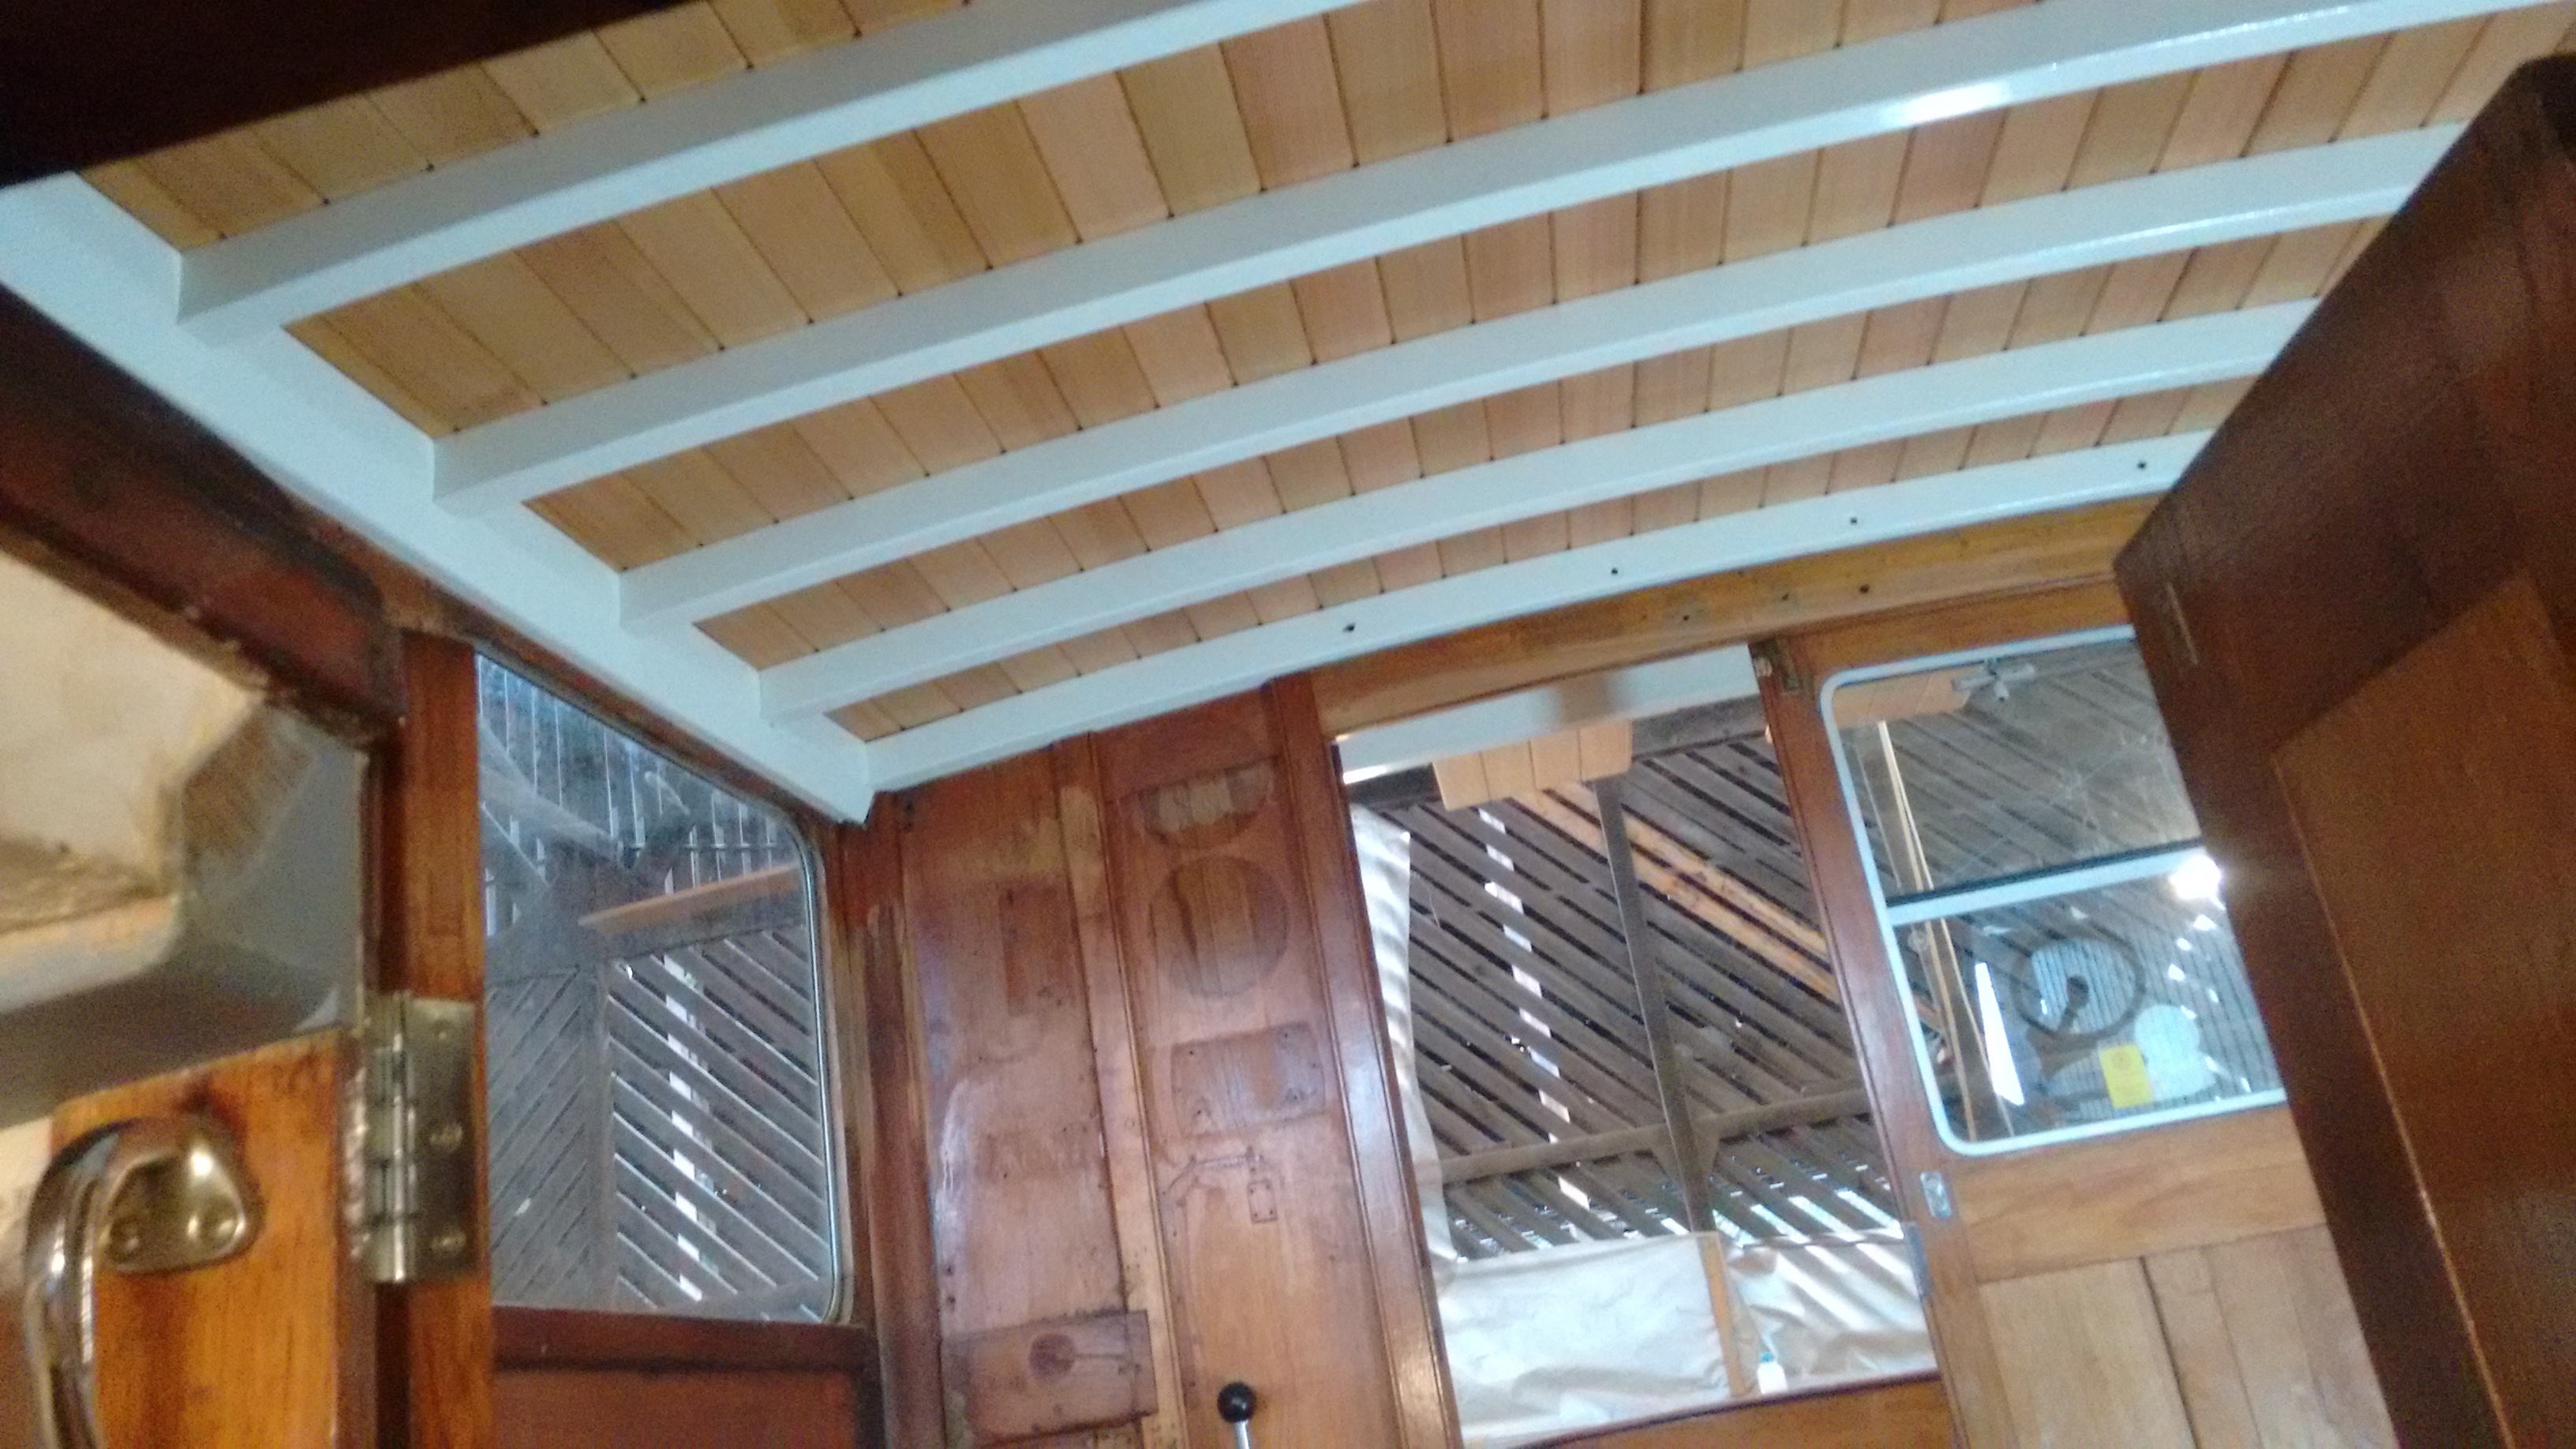
The underside of the decks were oiled (Deks Olje D1) before we fitted them. The beams, which had been varnished, had to be painted due to scarphed in beam ends added during structural repairs.
A new ‘tail-end’ for the bulwark capping
Although we had managed to salvage the existing bulwark cappings (by running them through a thicknesser a few times) they had always lacked a proper ‘tail end’ which I added.
Once the deck was in place and watertight we could turn our attention to fittings. In the end, just about the only deck fittings retained were: the portlights; the wheelhouse windows; the mainmast tabernacle and a few fender eyes. Just about everything else was replaced in bronze or bead blasted stainless steel. Here is a selection…
Bronze stanchion post with socket base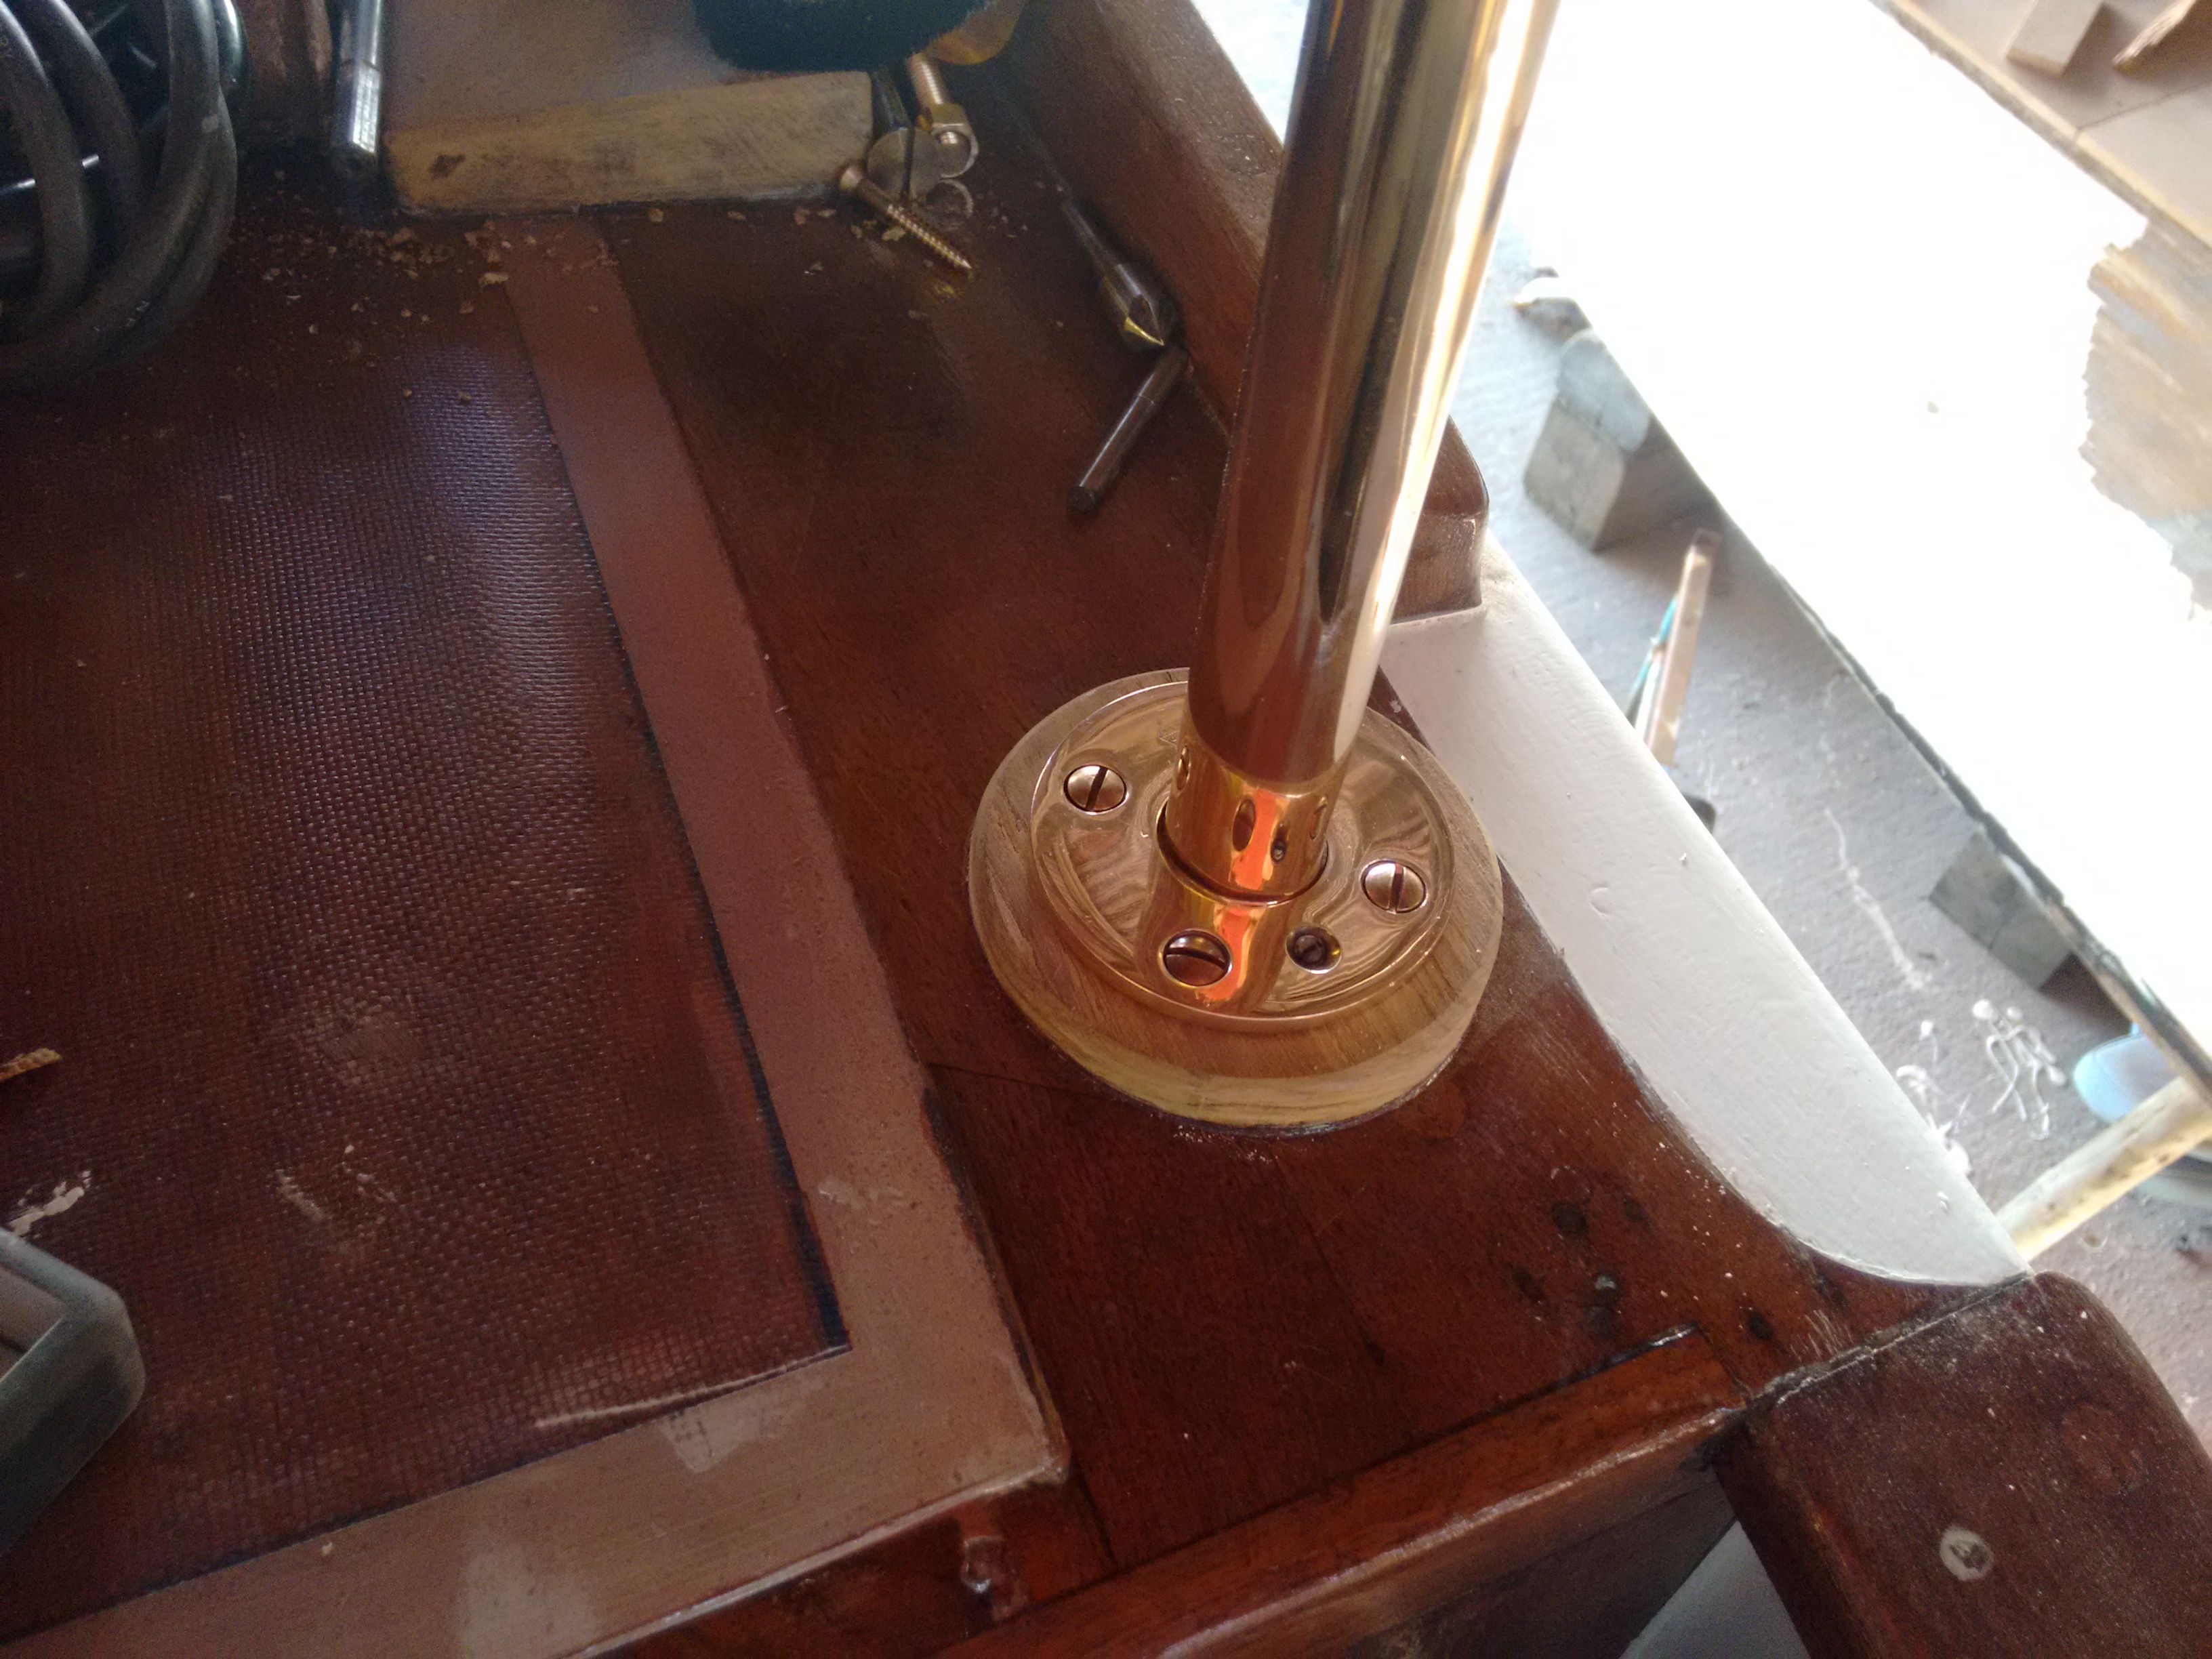
Foredeck with windlass, mooring fairlead, bollards, hatchlight/ventilator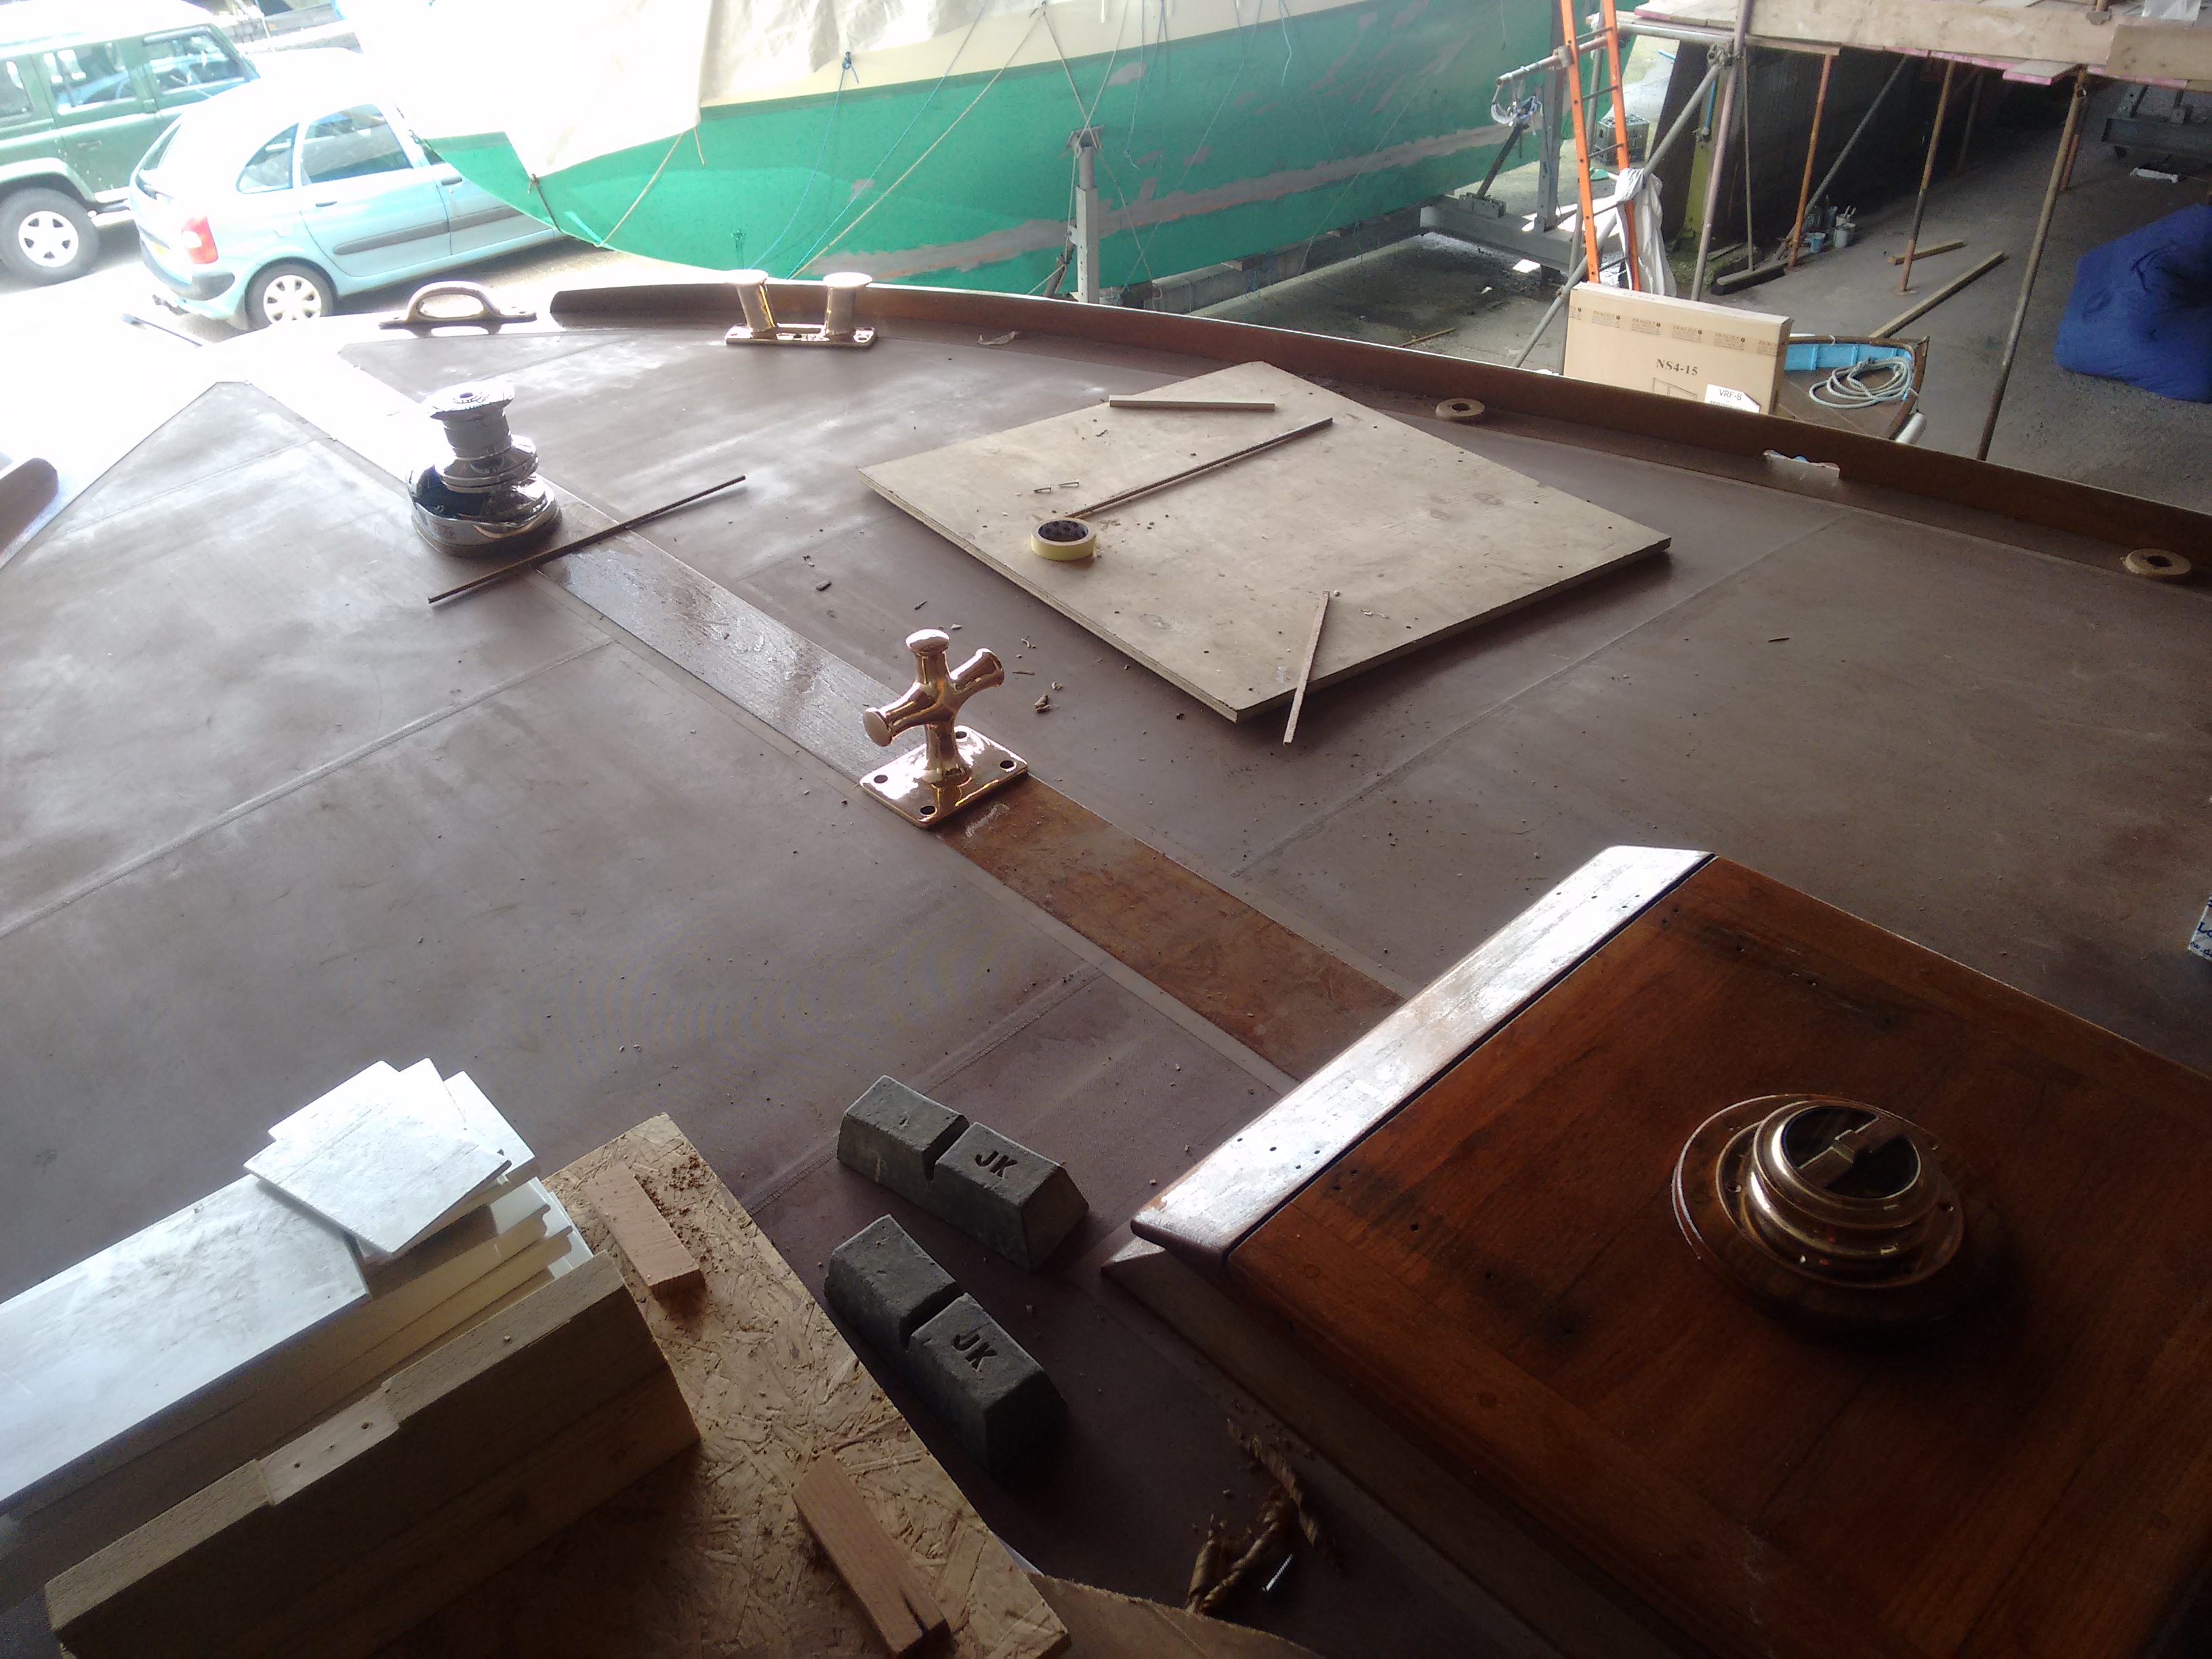
Foundry pattern for the new mooring fairleads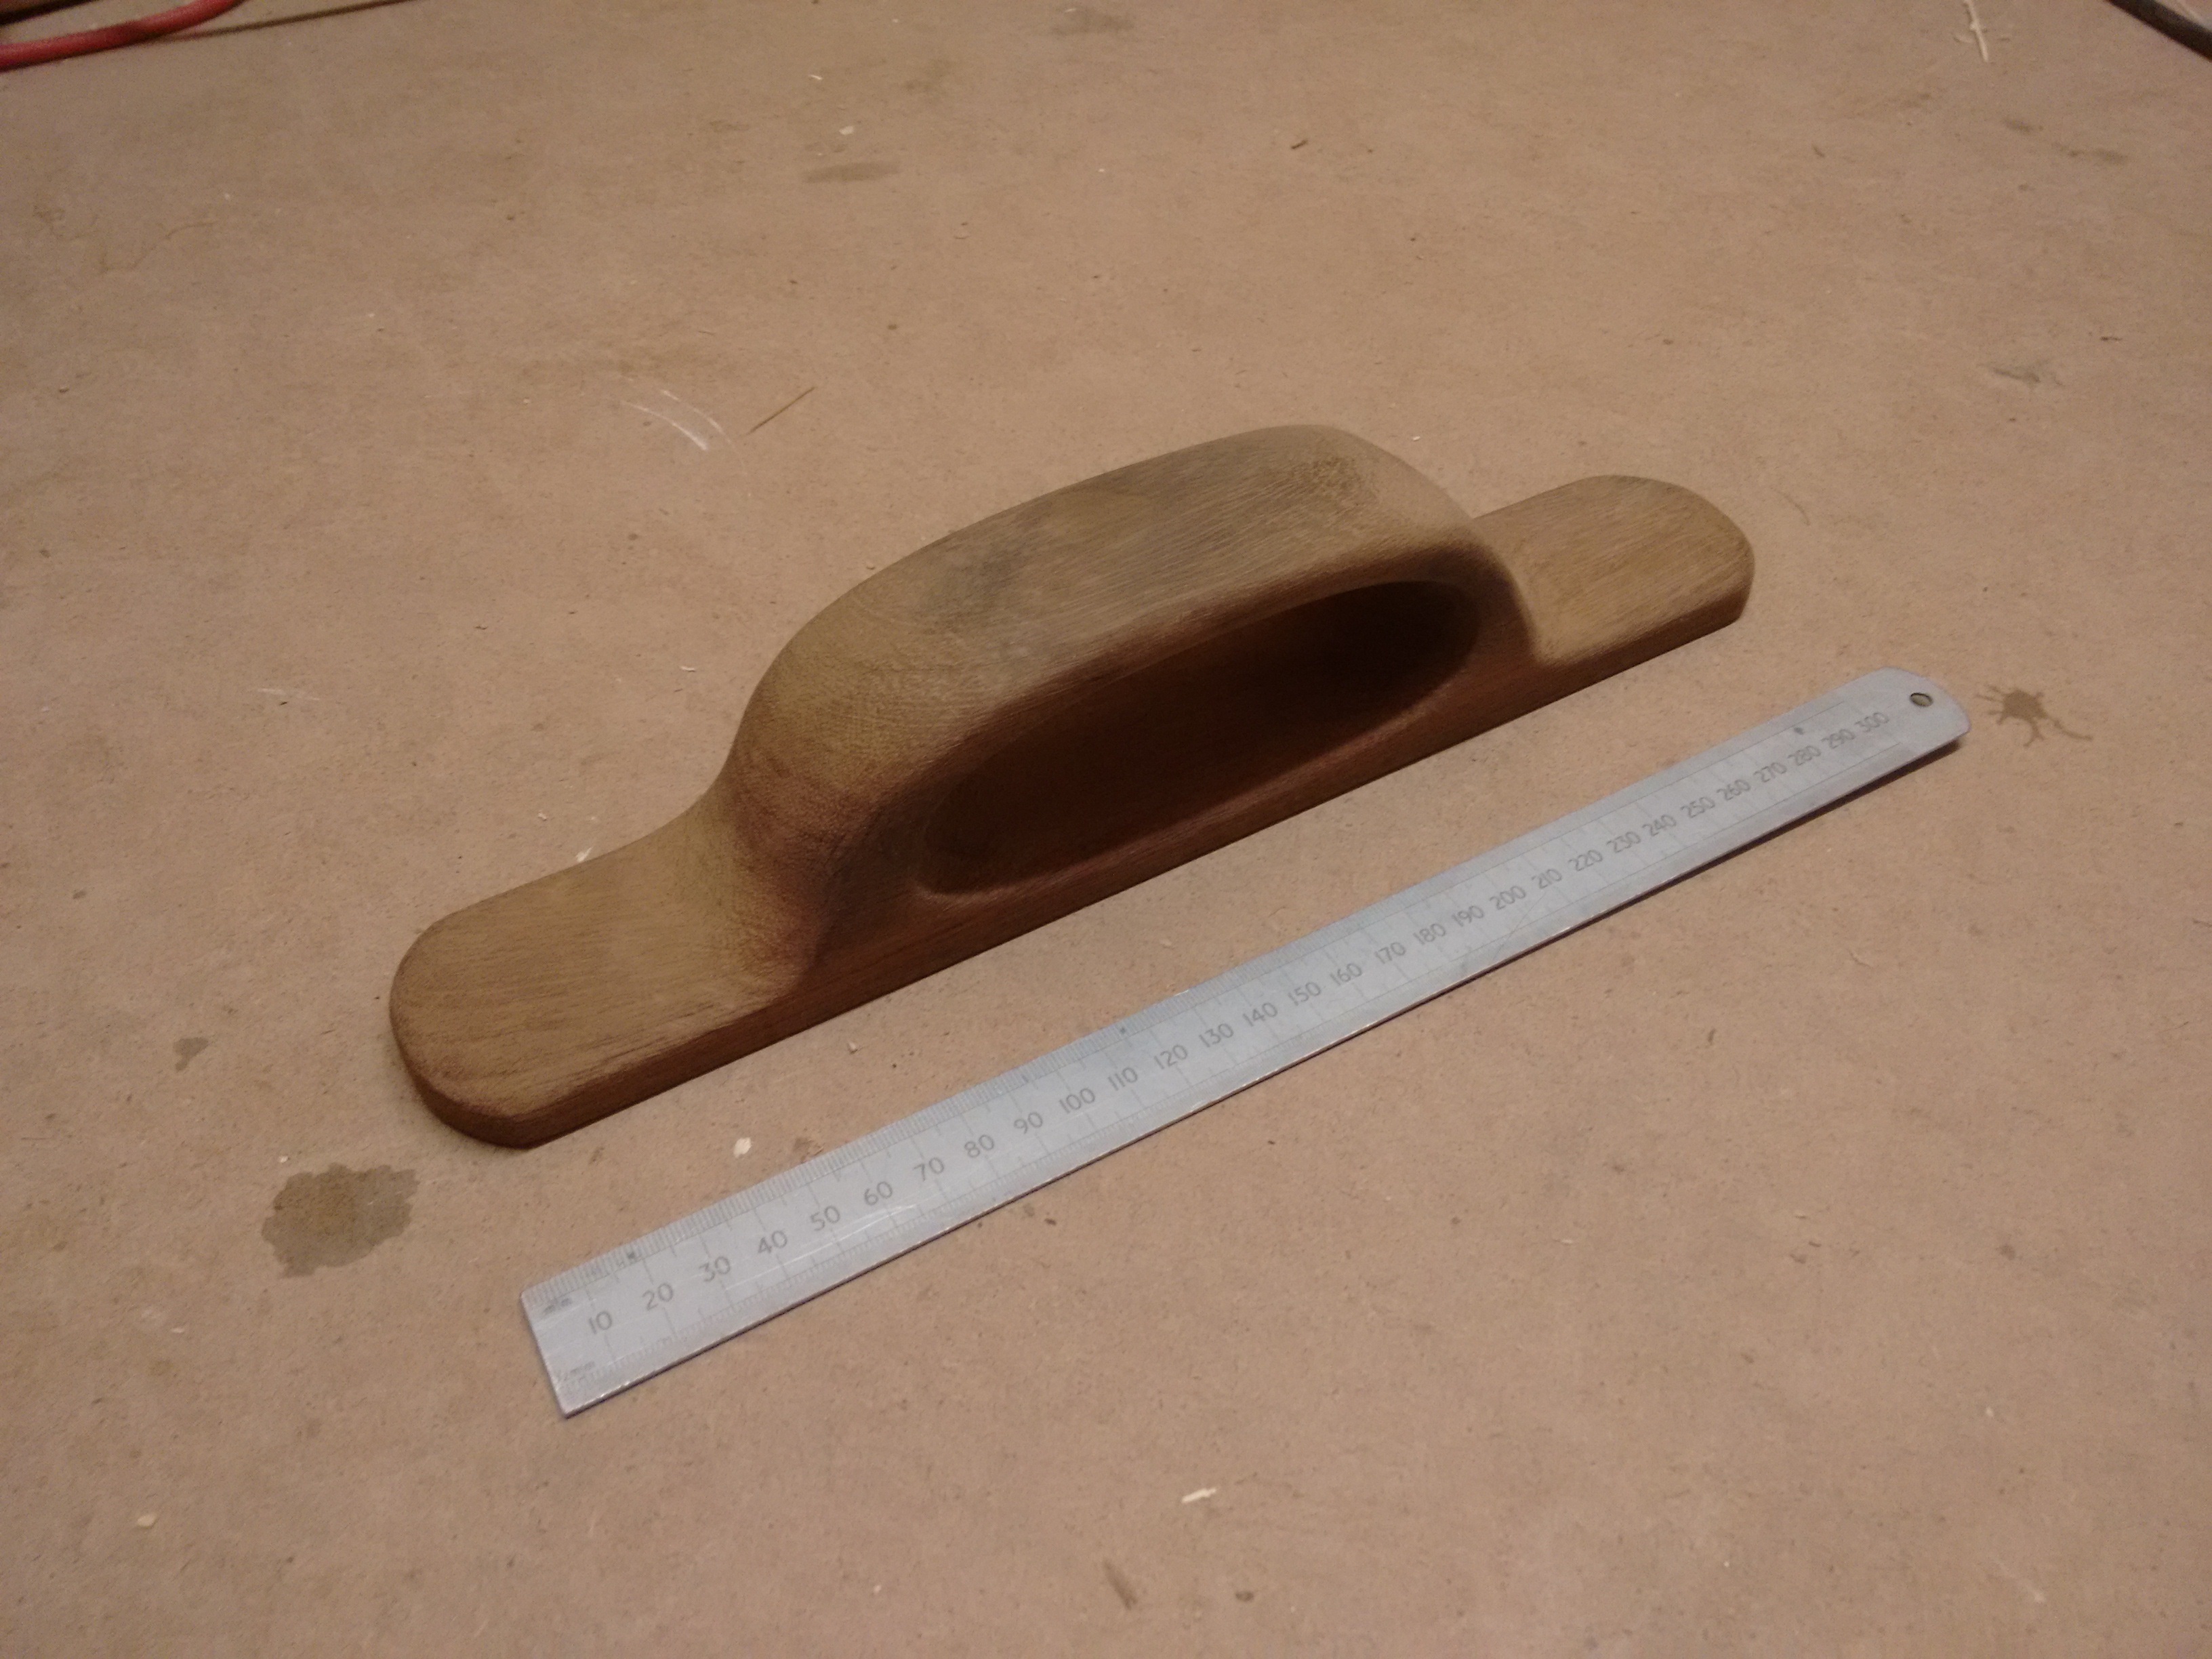
Engine ventilation cowling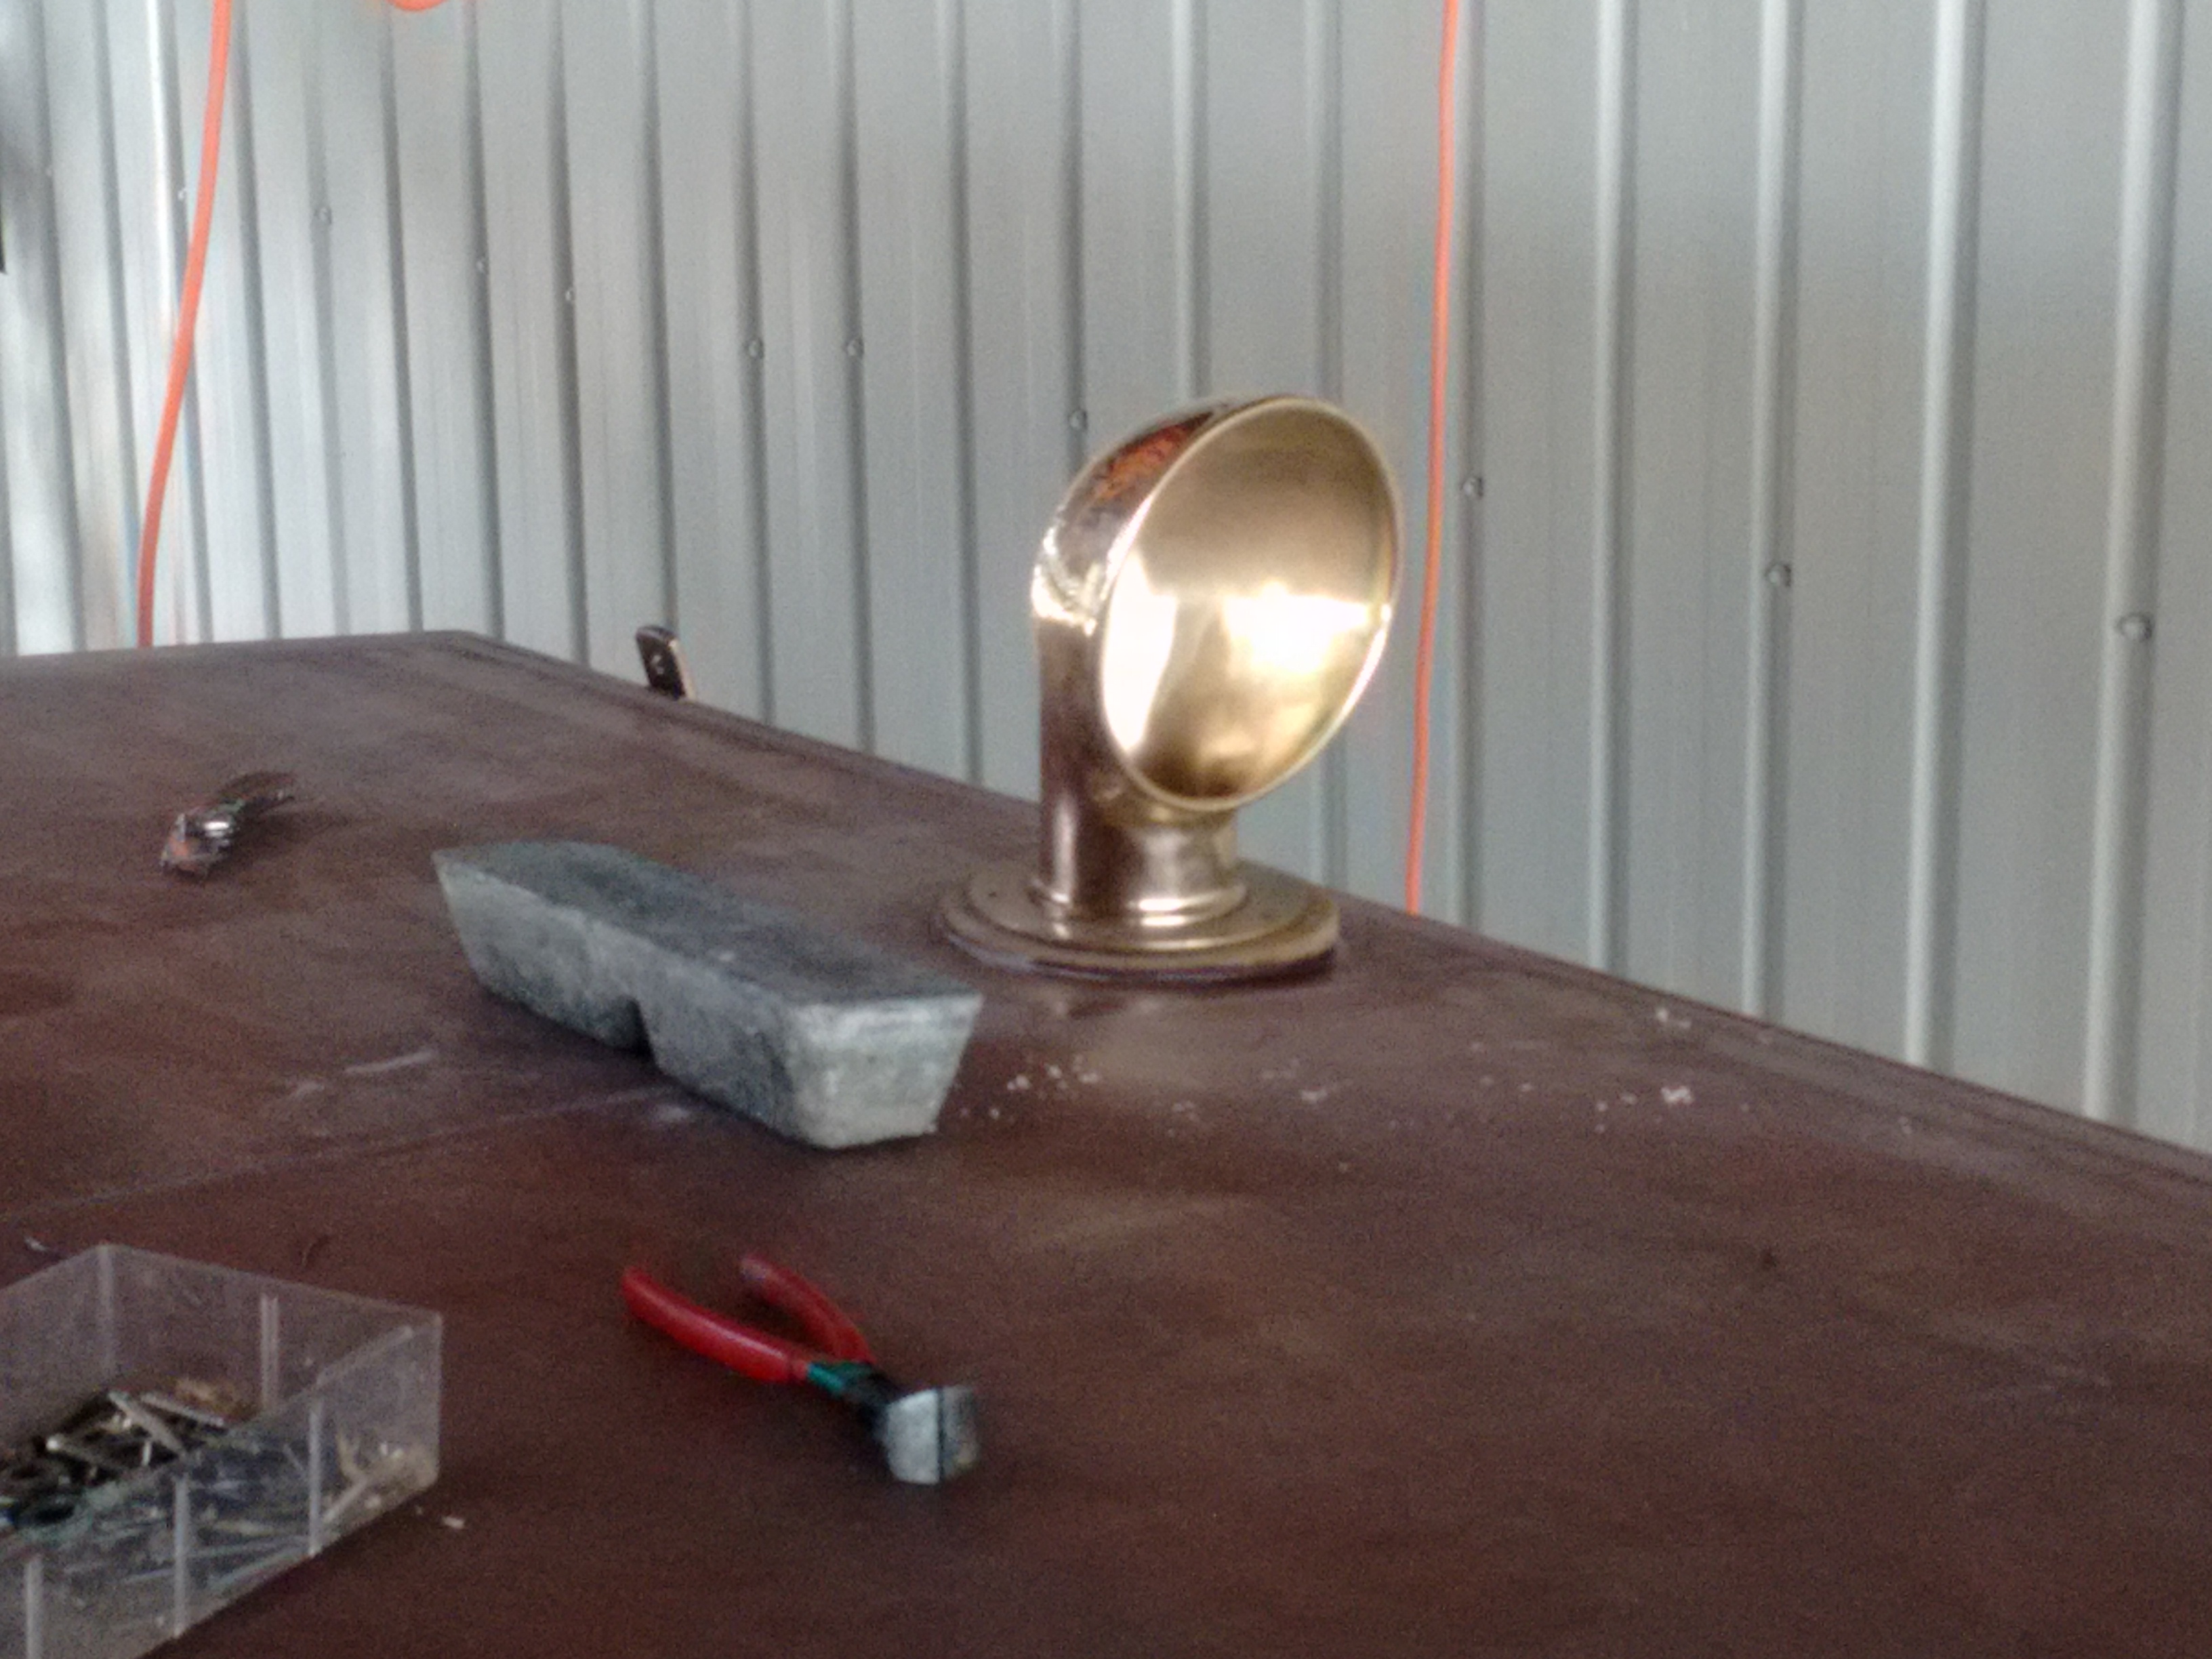
When making up the pads for deck fittings I found that a bubble level app on my mobile phone was the quickest way to get the angles that I needed to get the top of the pad level.